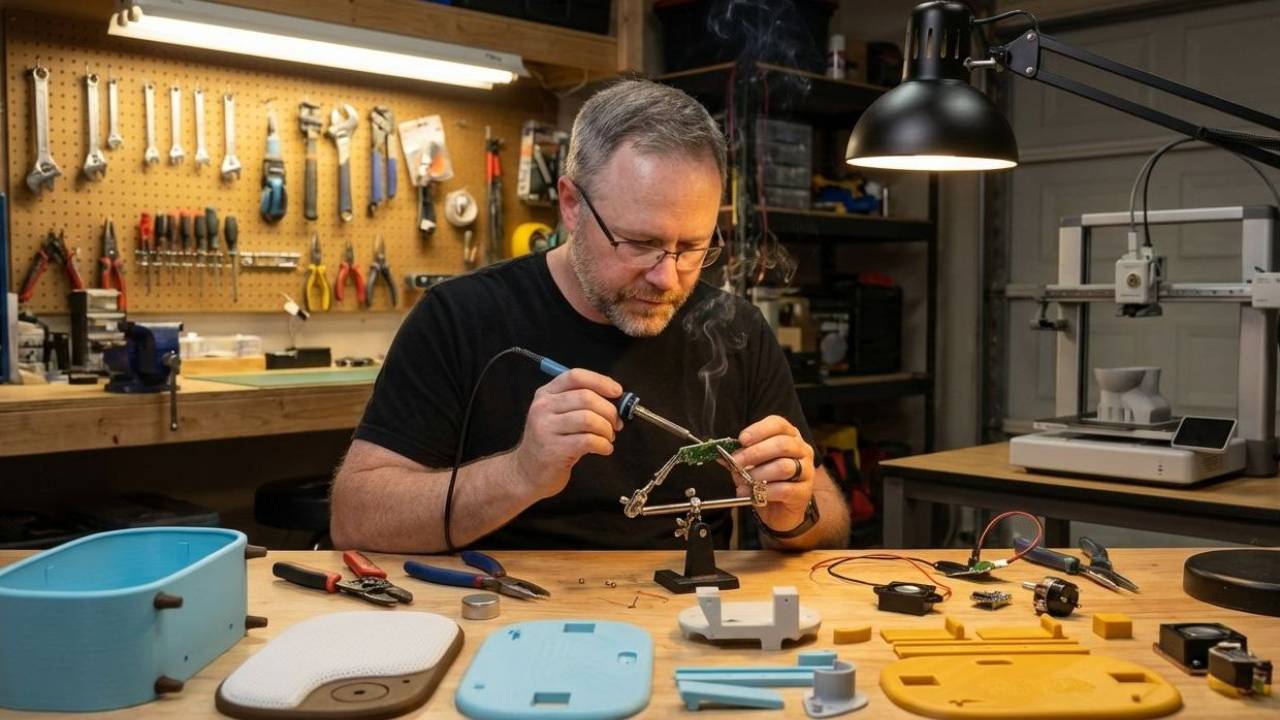
Circuit Board Radios
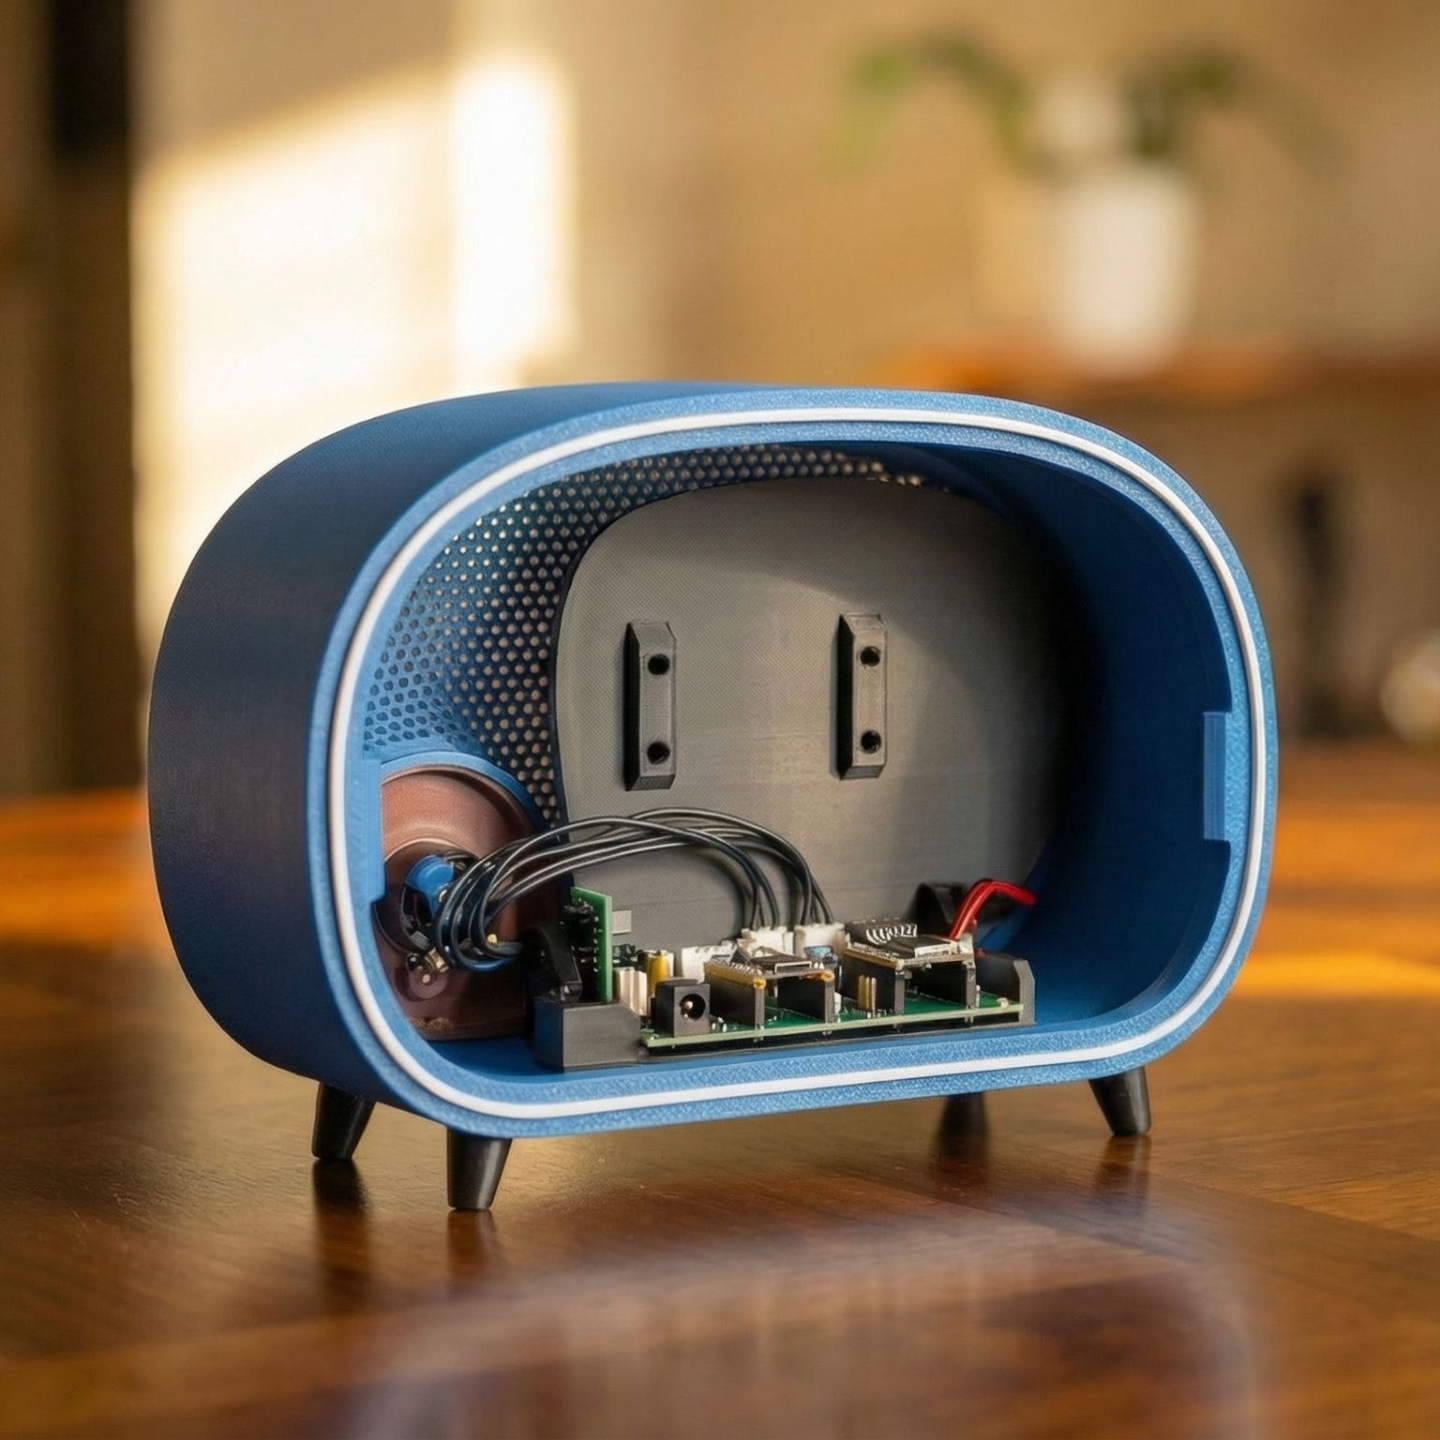
Build with the PCB Board
Use the custom Vintage Radio PCB for a cleaner and more streamlined build. This version minimizes wiring and the most long-term solution once assembled.
Difficulty: Intermediate
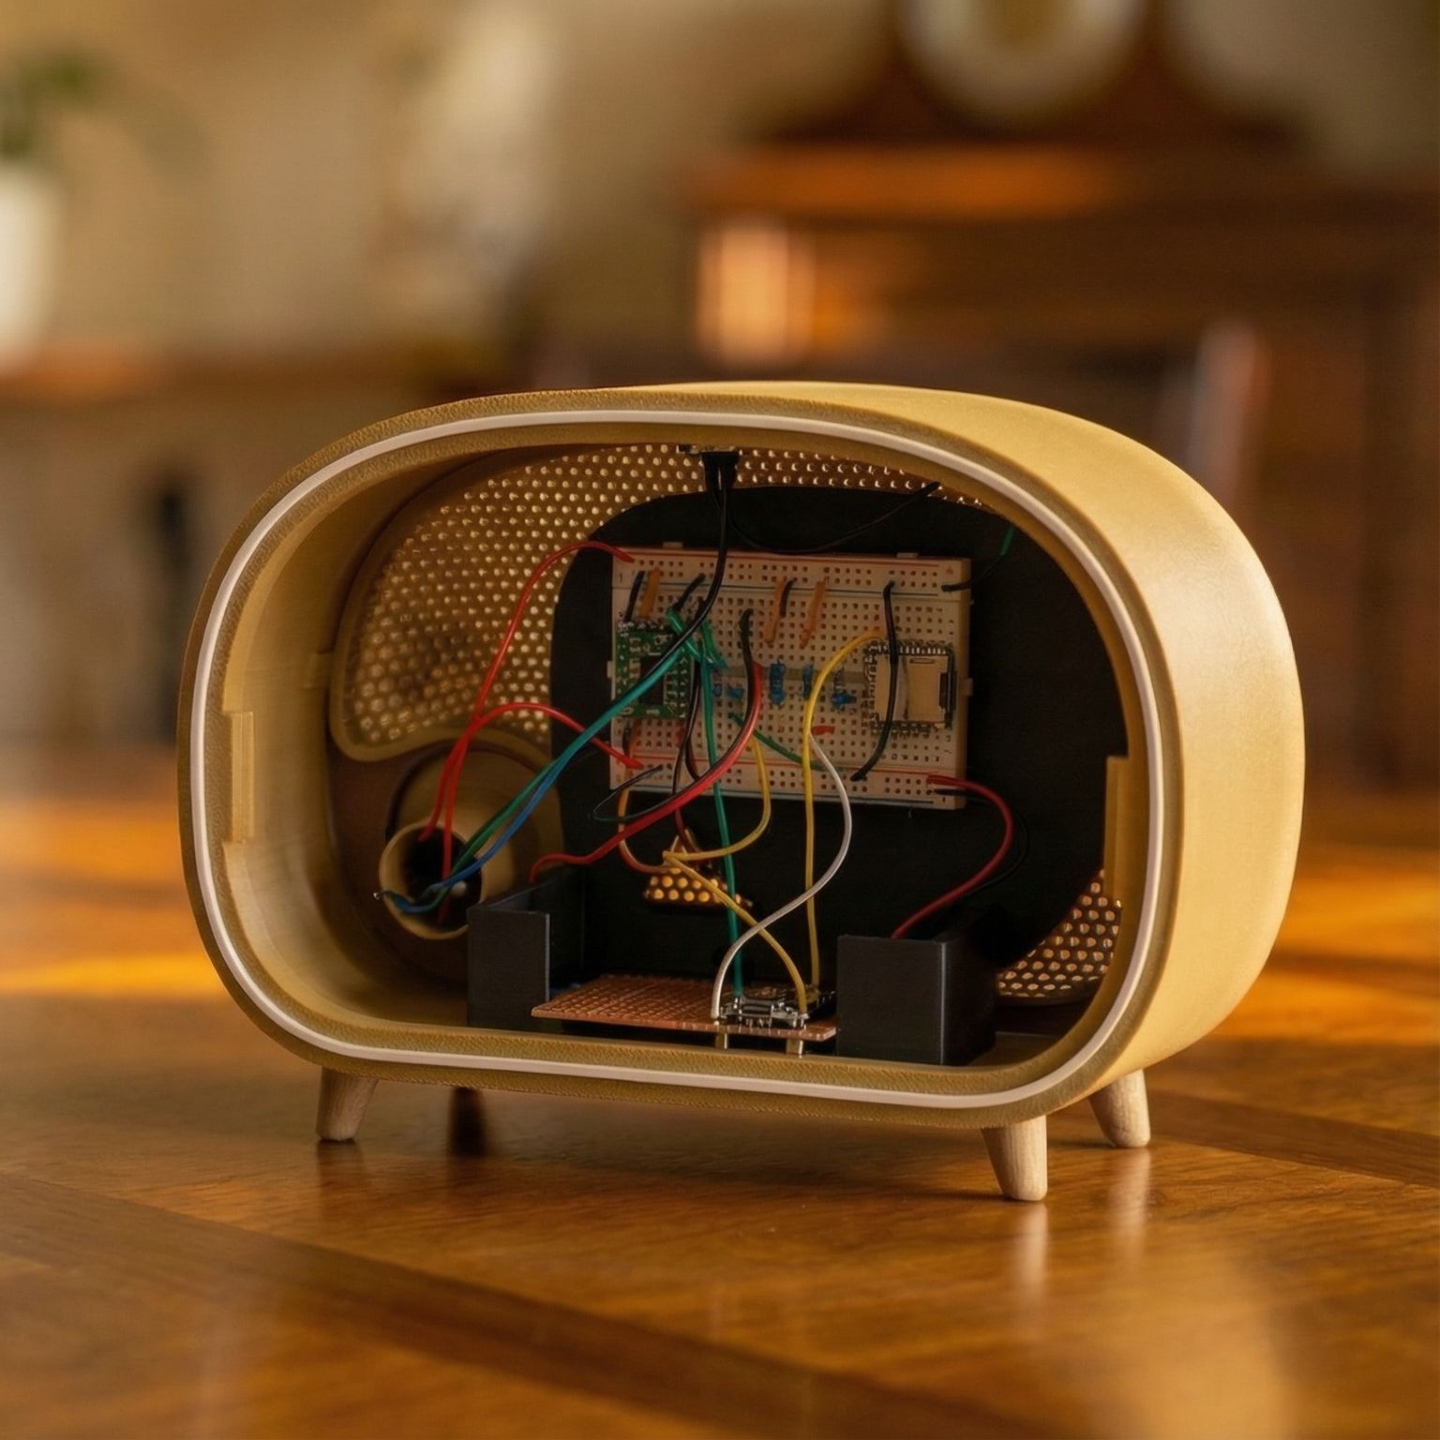
Build with the Breadboard
Assemble the radio using a breadboard and discrete wiring. This version exposes the electronics and is ideal for learning how the circuit works step by step.
Difficulty: Advanced
Pick Your Poison
These two versions of the Vintage Radio are fully self-contained music players. They do not receive live radio signals. Instead, you load music onto a microSD card and the radio plays it back through a simple mono speaker system designed to resemble the sound character of early AM broadcasts.
The result is intentionally lo-fi. Warm, focused, and nostalgic.
At the heart of these builds is a custom audio circuit that reads music files from the microSD card and sends the signal through a small amplifier and speaker inside the radio cabinet. Playback is controlled with a single knob and button interface on the front of the radio.
There are two different ways to build this version of the Vintage Radio.
Both produce the same listening experience, but they differ in how the electronics are assembled.
One path uses a custom printed circuit board, designed to make the build clean and reliable.
The other uses a breadboard and discrete wiring, which is ideal for those who want to see and understand the electronics more directly.
Choose the path that fits your comfort level and building style.
Support the Project?
This project exists because of hours of testing, failed prints, redesigns, and revisions. If you’ve found it useful and want to support future mounts, PCBs, and new designs, you can contribute here. Every spool helps! 🥰
🧵 Buy Me Some FilamentLet's Stay Connected
This project is evolving. When I release new mounts, updated files, PCB revisions, hardware improvements, firmware changes, or entirely new designs, you’ll hear about it first. I’ll also share builder showcases and practical updates that make the radio easier and better to build. No noise. Just relevant information for people actually working on the project. You can unsubscribe anytime.