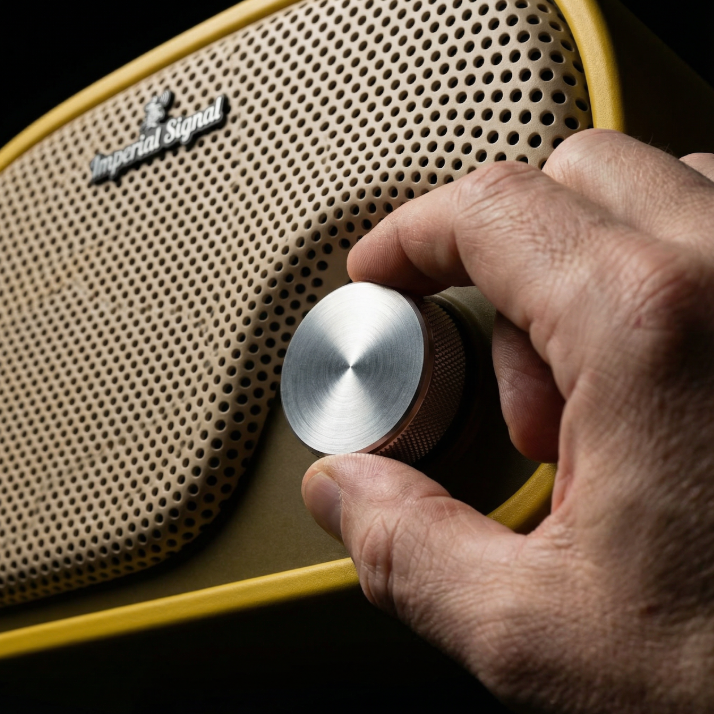
Vintage Style
AM Radio
Designed specifically for 3D printing, and intentionally built to remove digital friction. For circuit board and smart devices.
What Started It All
Music has become layered with menus, screens, pairing, updates, and options. What was once immediate is now mediated by interfaces.
The Vintage Radio was designed specifically for modern consumer 3D printers. Not as a decorative model, but as a functional object built around one action. Turn the knob. Hear music. No apps. No scrolling. Not nostalgia for the past, but a deliberate return to clarity. For many, that simplicity is refreshing. For some, especially those experiencing memory decline, it can be essential.
Ready To Build?
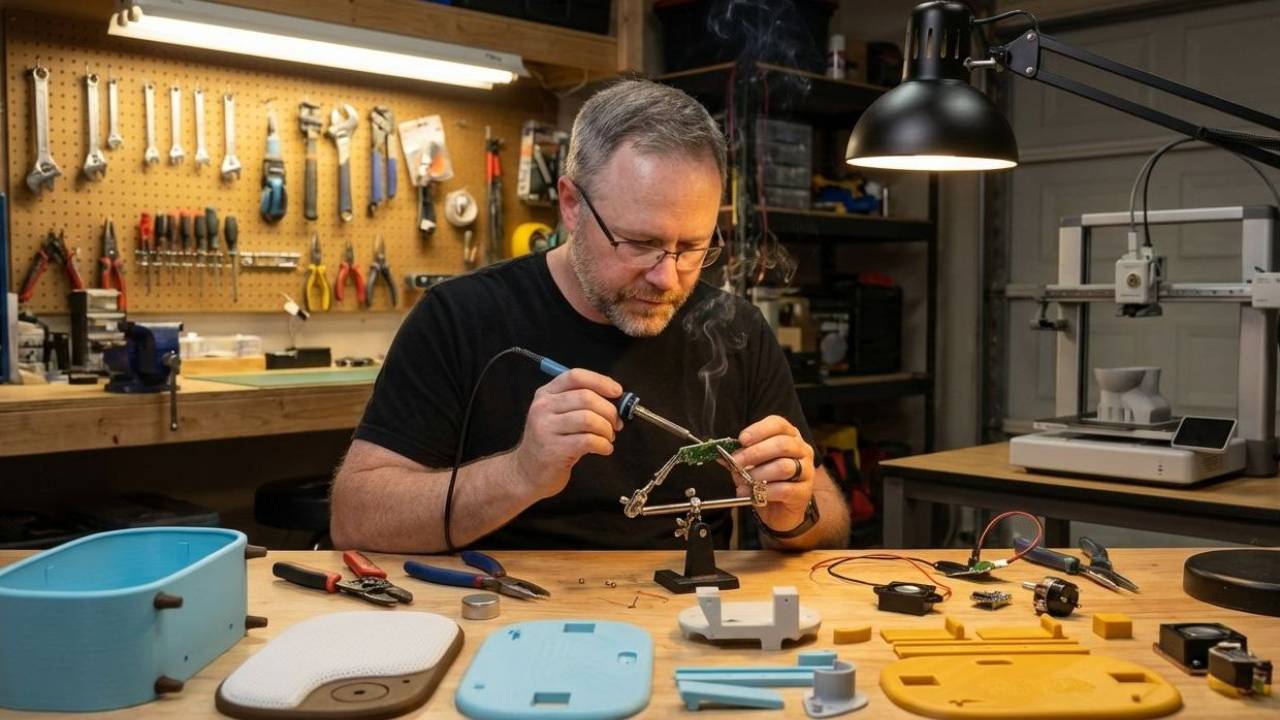
This project was designed to be built at home on modern consumer 3D printers. The Build One page walks you through the two available versions, the hardware required, and the structure of the process from printing to final assembly. Whether you want a minimal Smart Device housing or the fully offline Circuit Version, everything is organized clearly so you can choose your path and begin with confidence.
Show Me How To Build One!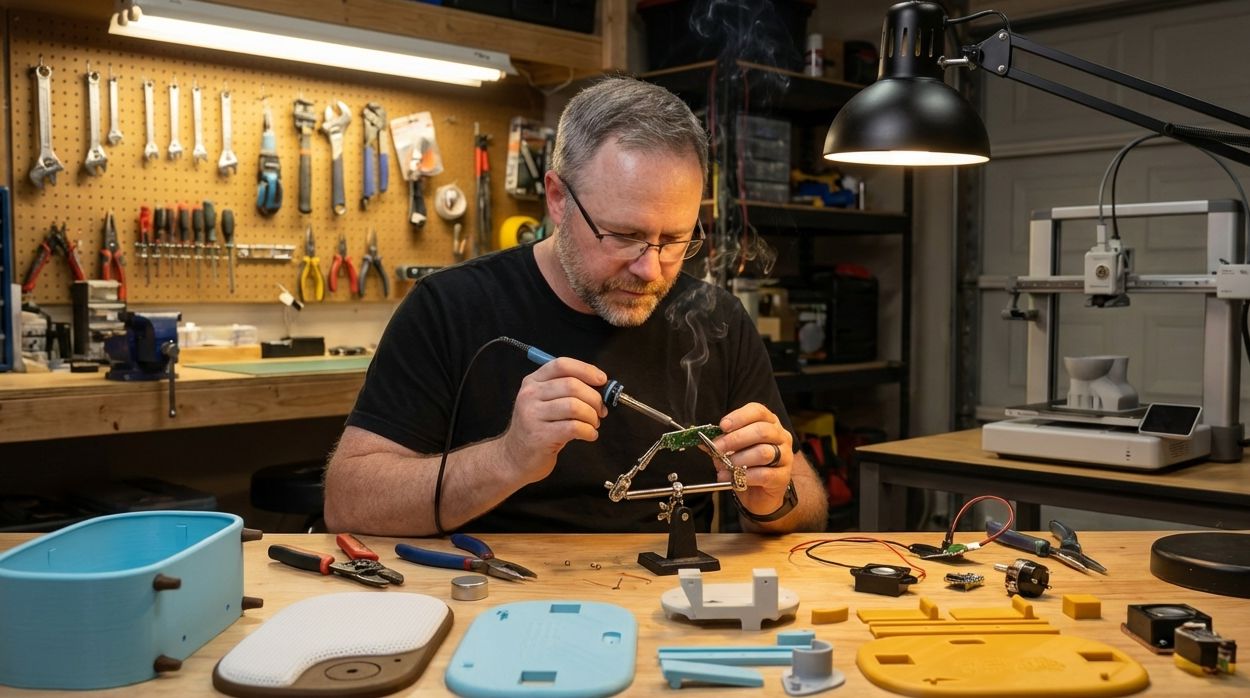
Beyond the Build
Operate your radio. License your builds. Follow the journey.


Music for Memory Care
Some builders are taking these radios into memory care centers and assisted living homes. Not as a product demonstration, but as a listening visit. Learning what music residents love. Returning later with a radio customized just for them.
Learn More About Outreach
Support the Project?
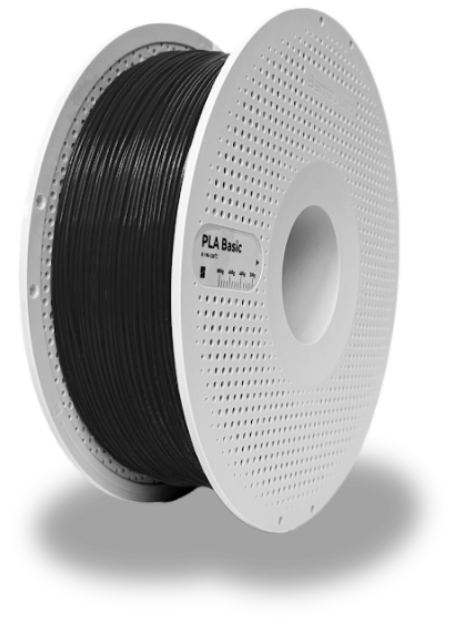
This project exists because of hours of testing, failed prints, redesigns, and revisions. If you’ve found it useful and want to support future mounts, PCBs, and new designs, you can contribute here. Every spool helps! 🥰
🧵 Buy Me Some FilamentLet's Stay Connected
This project is evolving. When I release new mounts, updated files, PCB revisions, hardware improvements, firmware changes, or entirely new designs, you’ll hear about it first. I’ll also share builder showcases and practical updates that make the radio easier and better to build. No noise. Just relevant information for people actually working on the project. You can unsubscribe anytime.