Smart Device Version
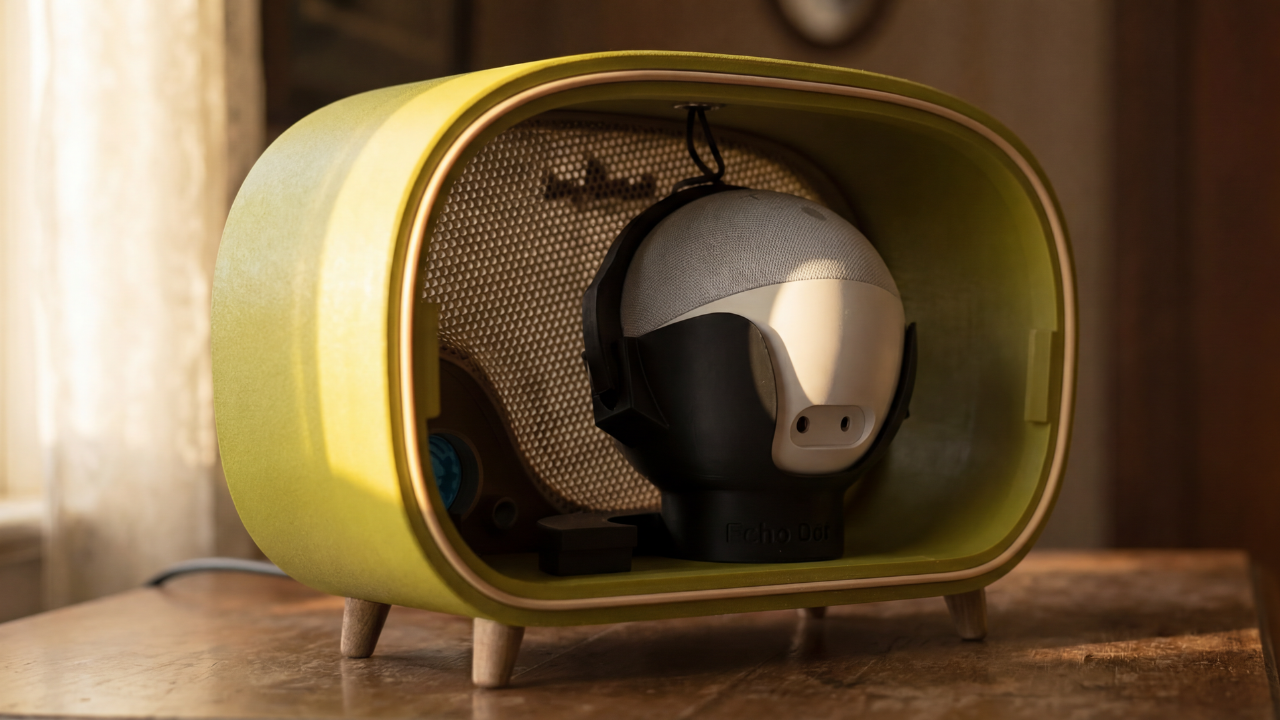
Turn Your Smart Speaker Into a Vintage Radio
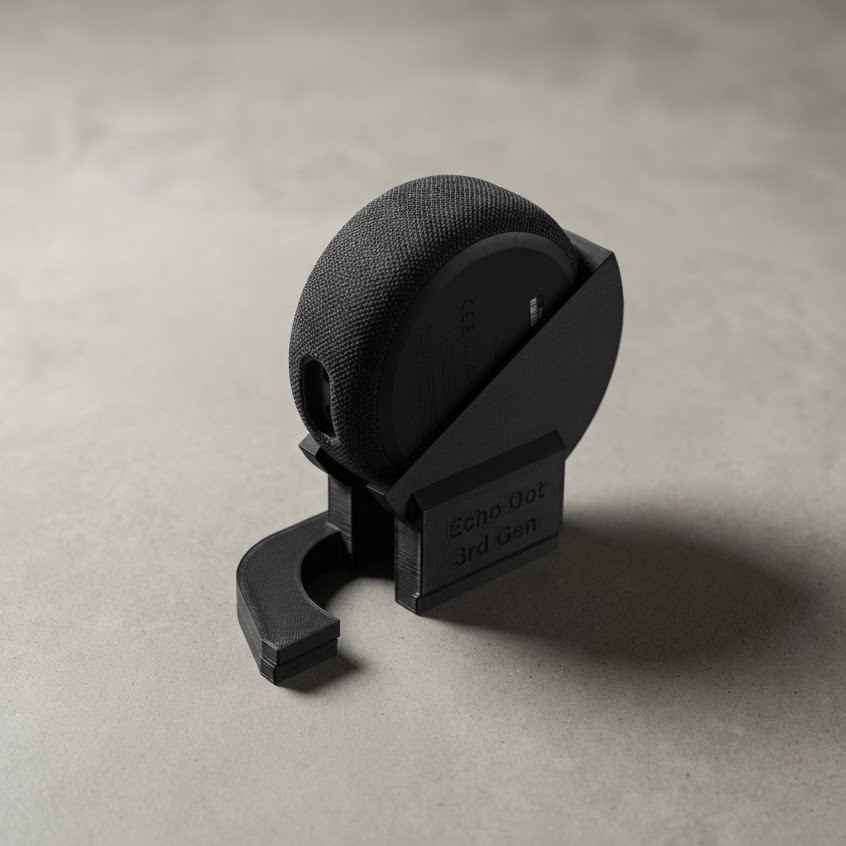
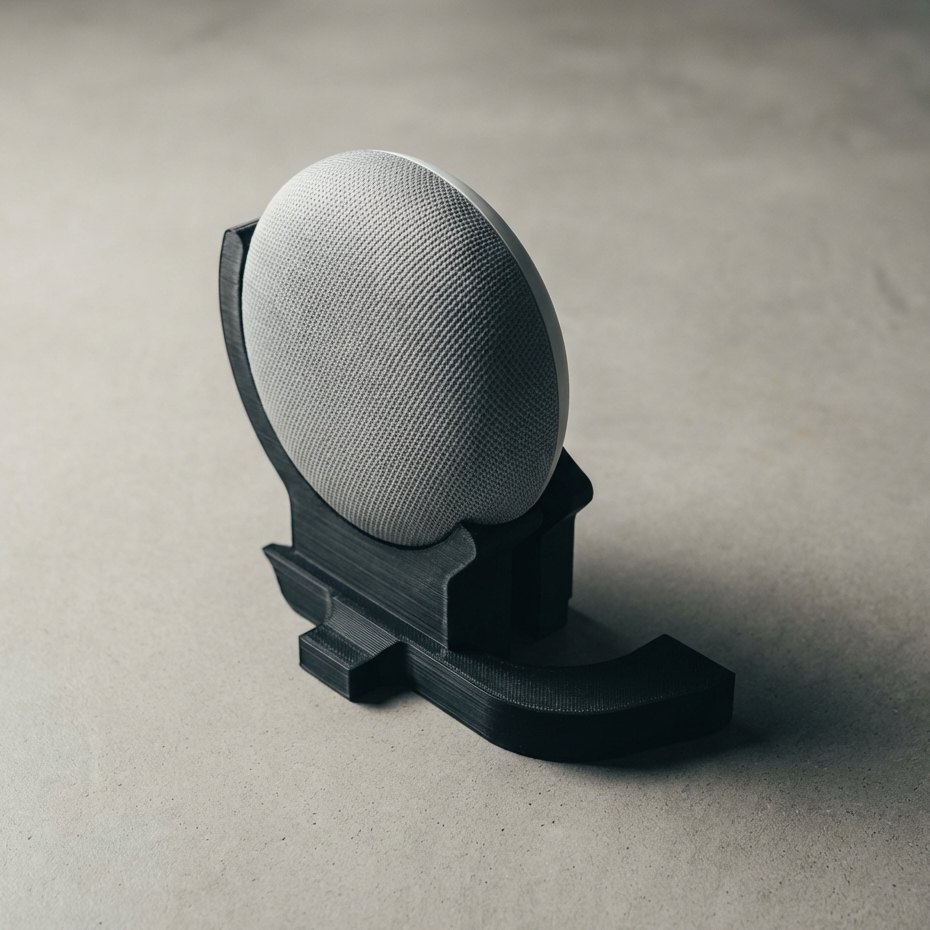
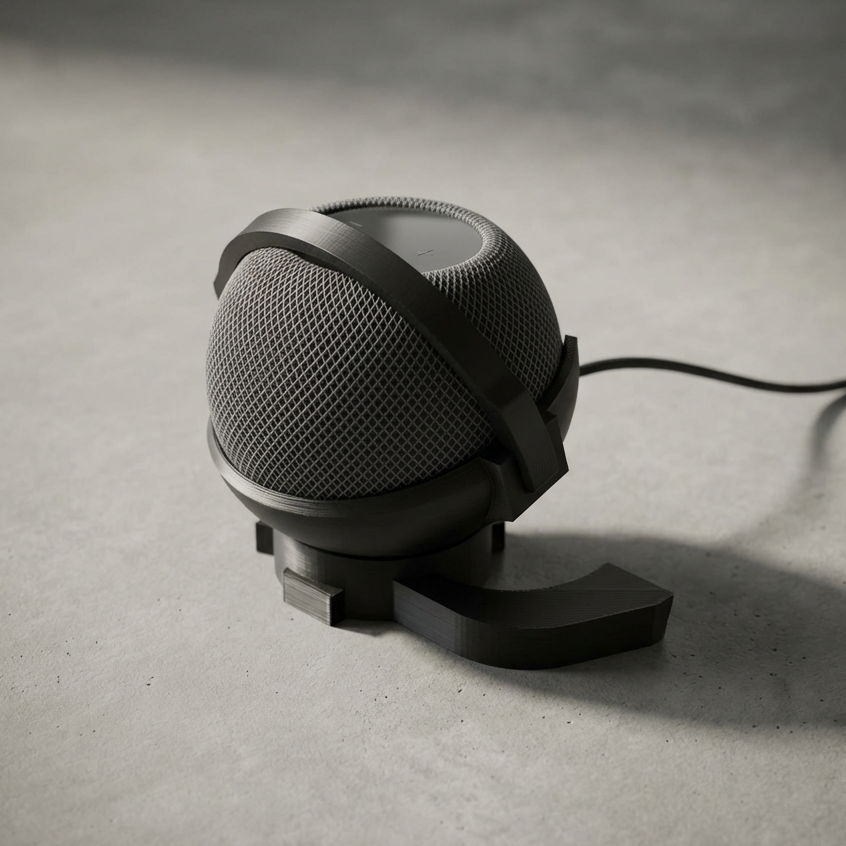
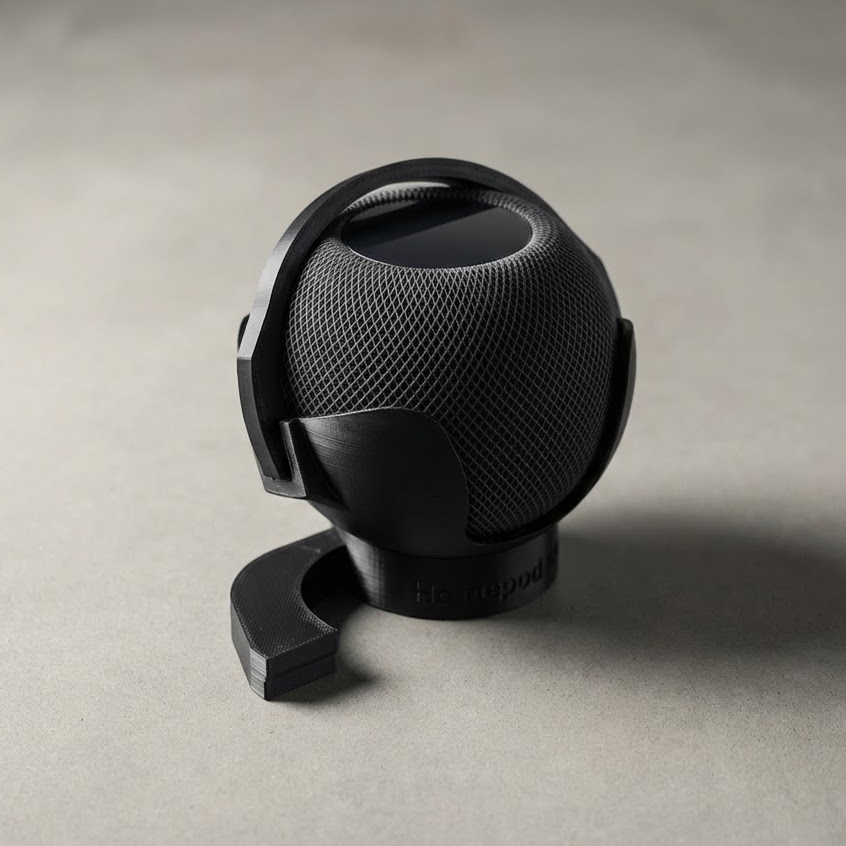
This version uses your existing smart device as the audio engine. You print the full Vintage Radio enclosure and add a device-specific internal mount. Shell depth depends on the device you’re using.
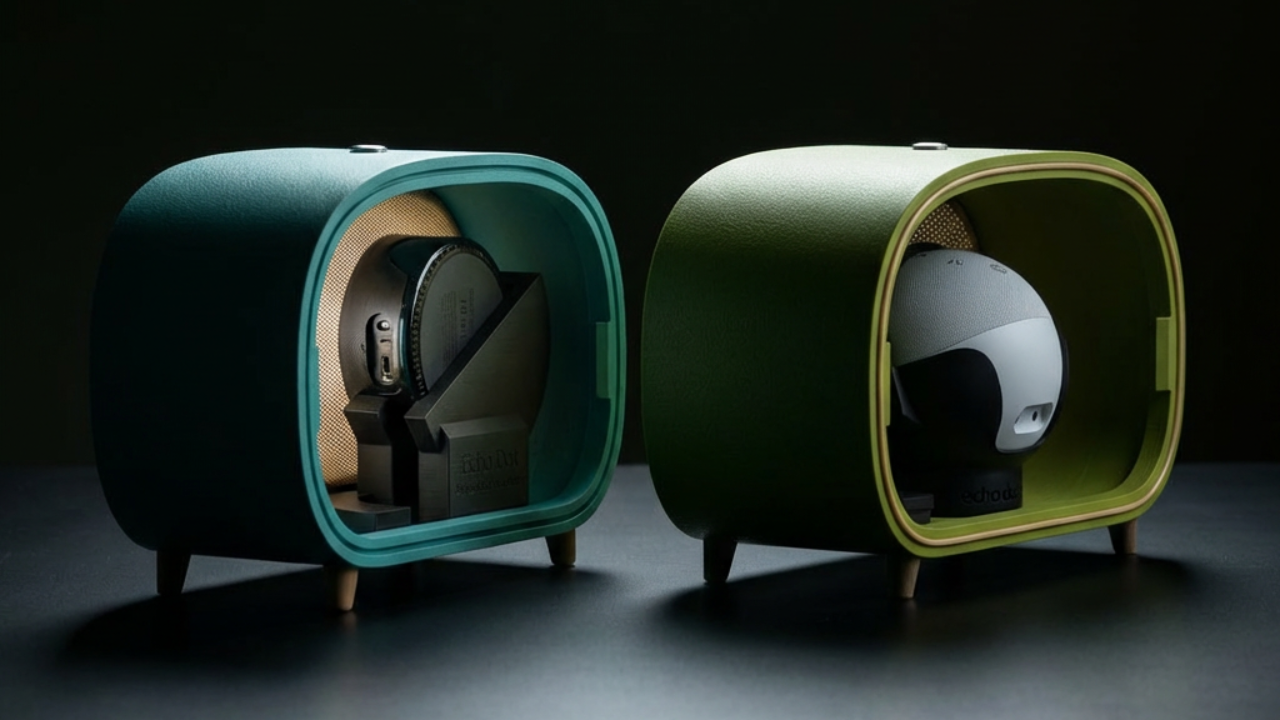
Two Shell Depths
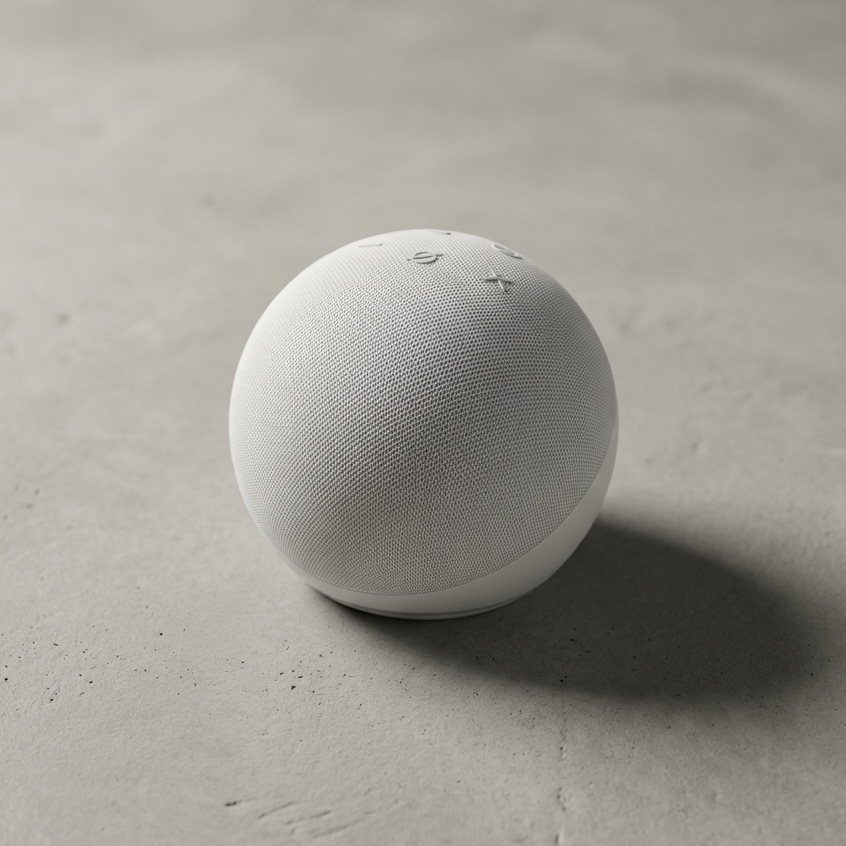
Because smart device come in all different sizes, I had to create two different size shells to accommodate. So depending on what smart device you're using will depend on what enclosure you should use:
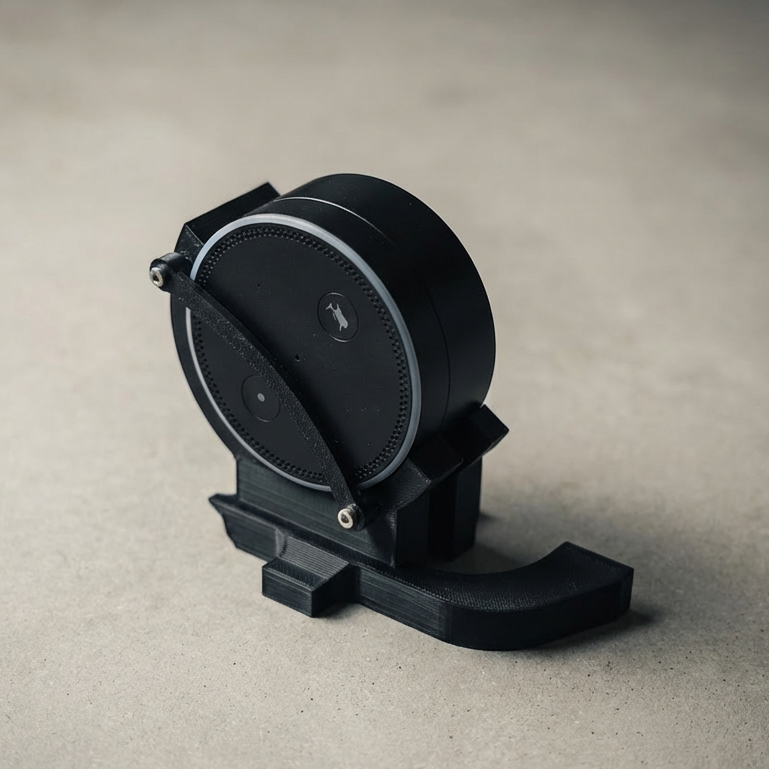
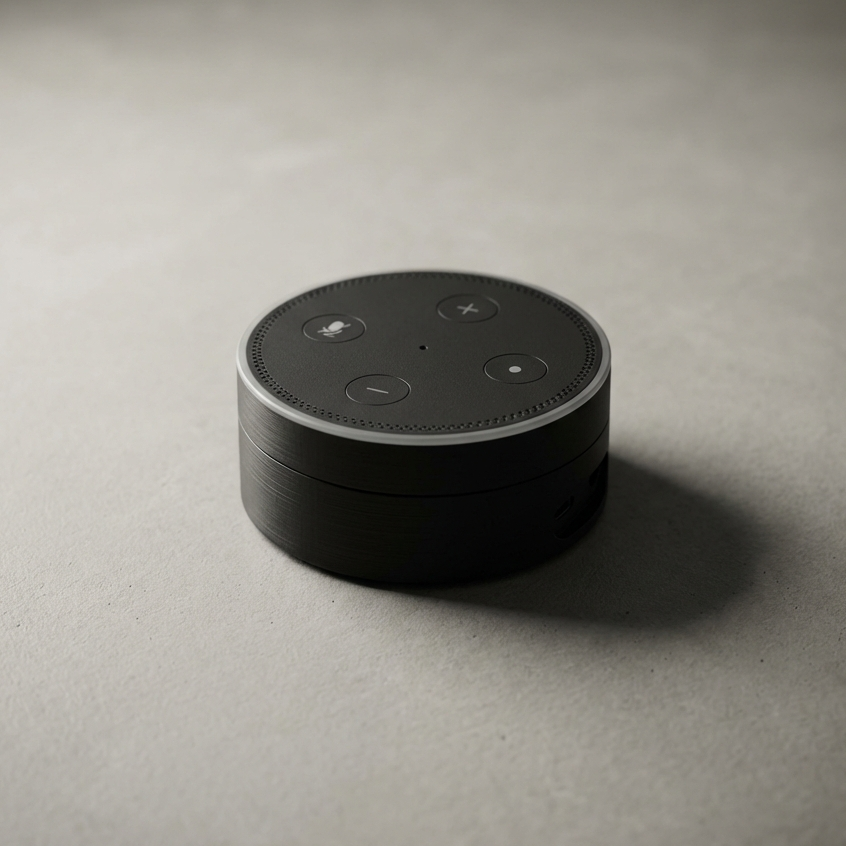
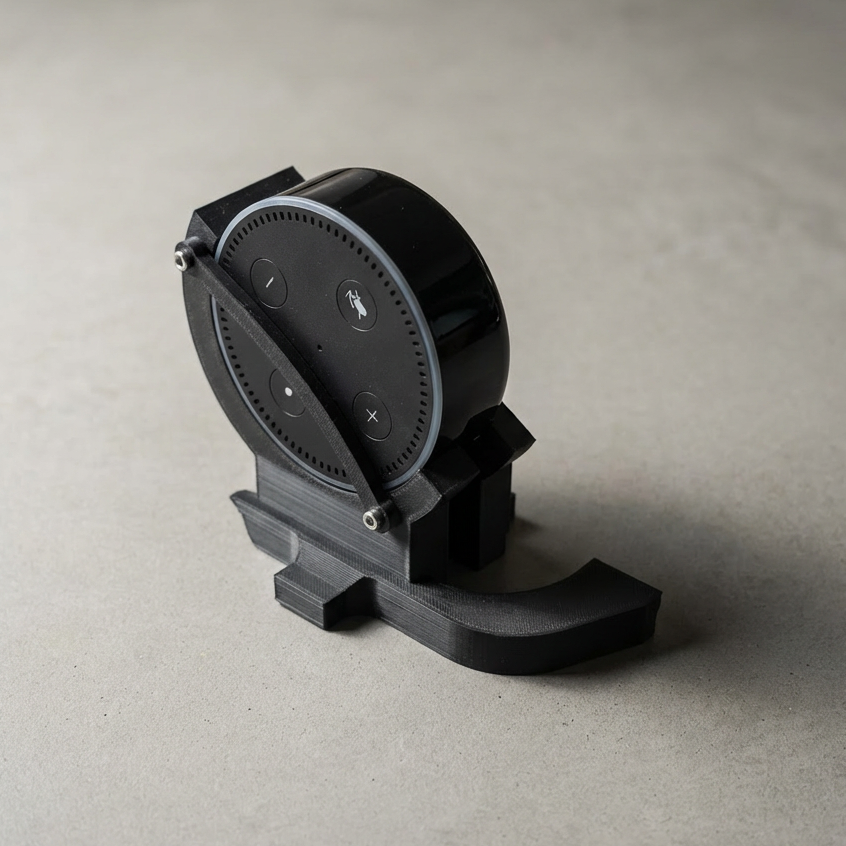
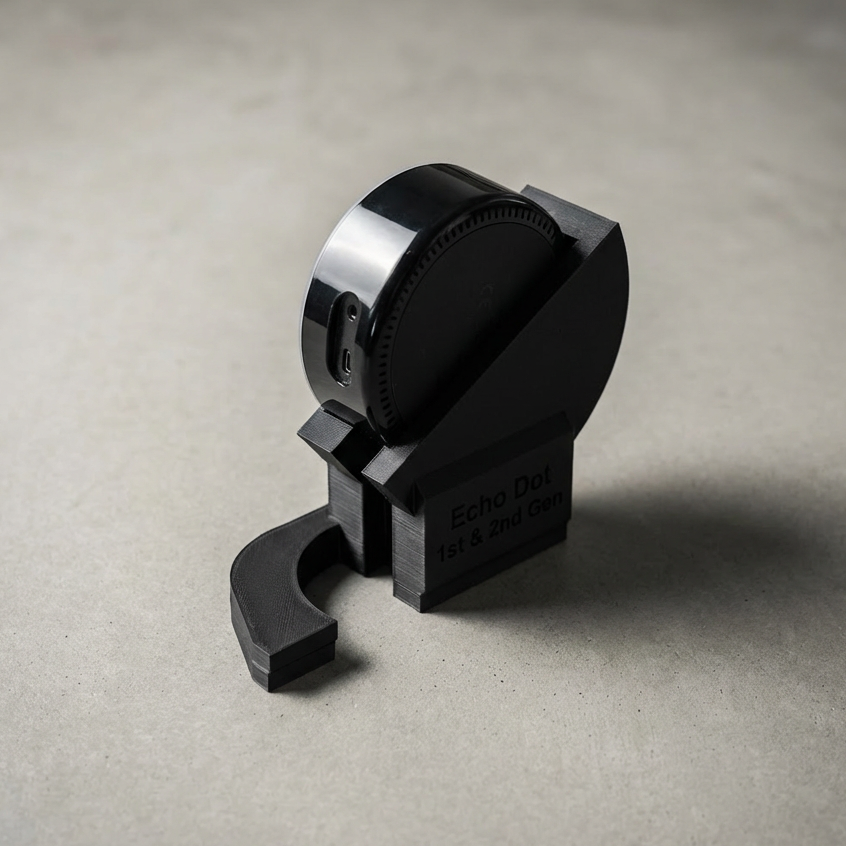
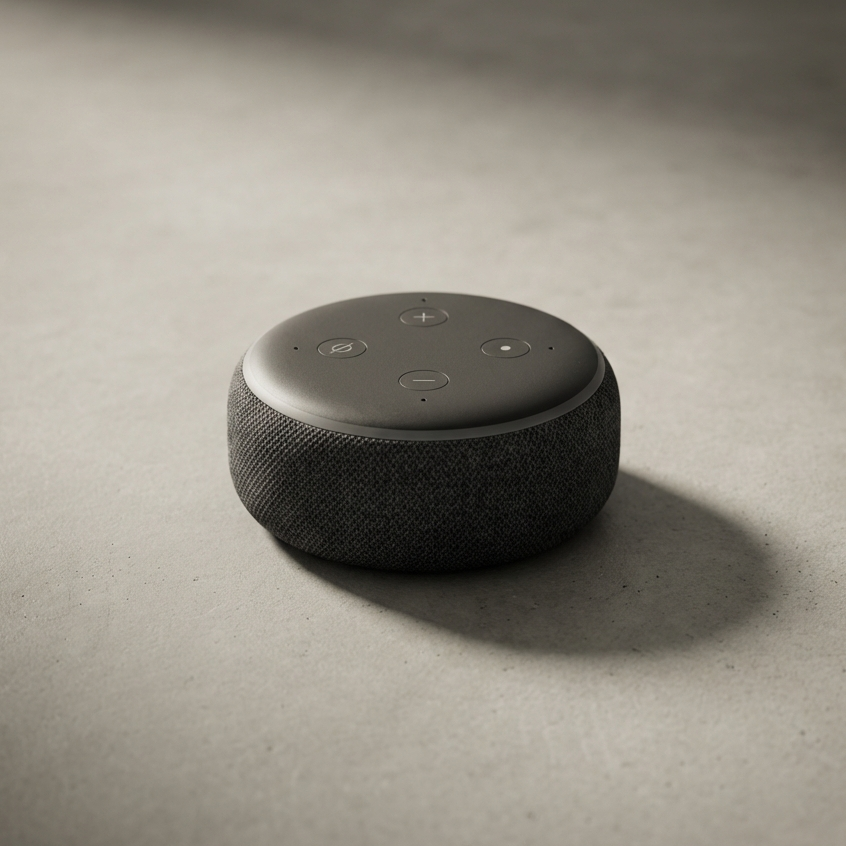
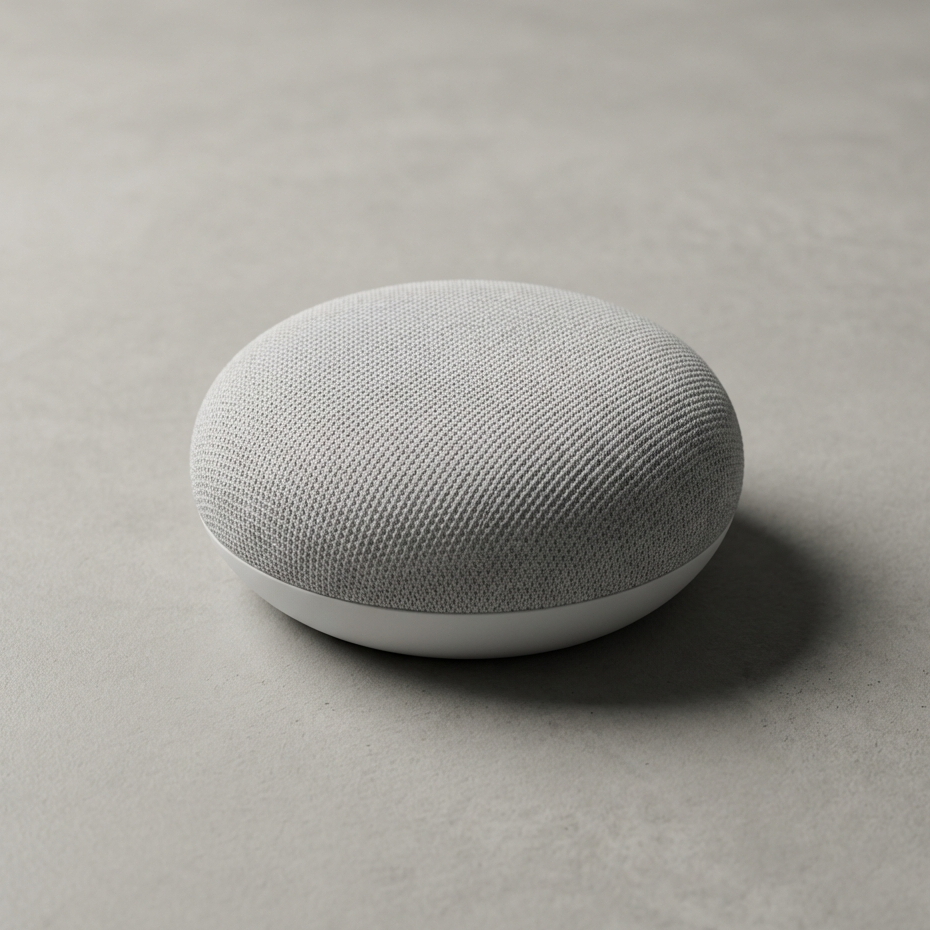
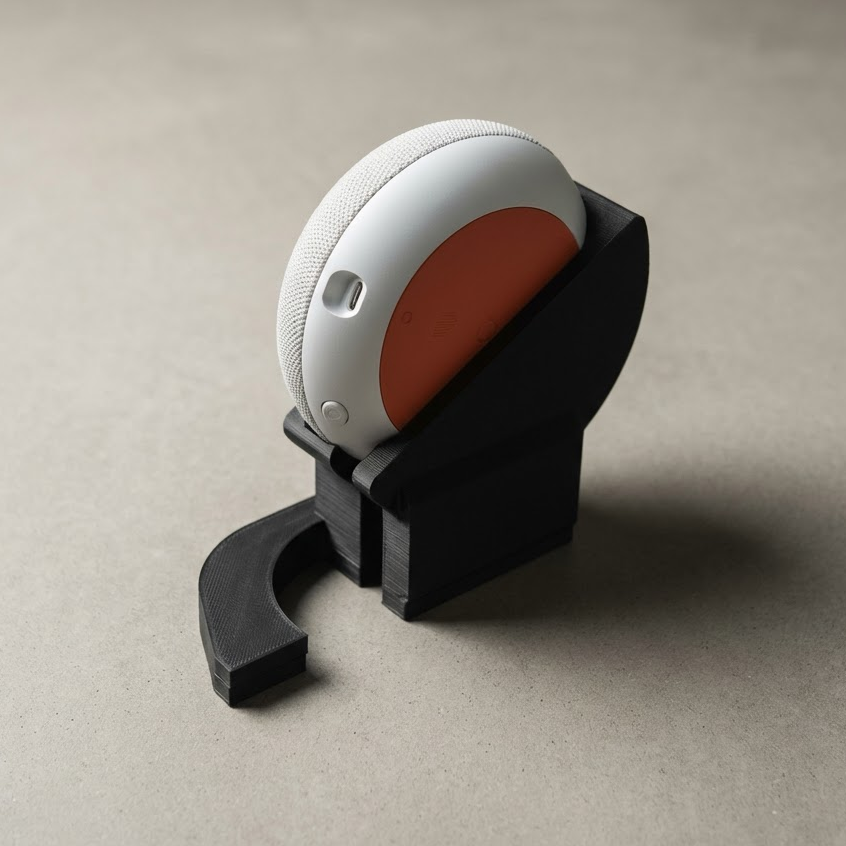
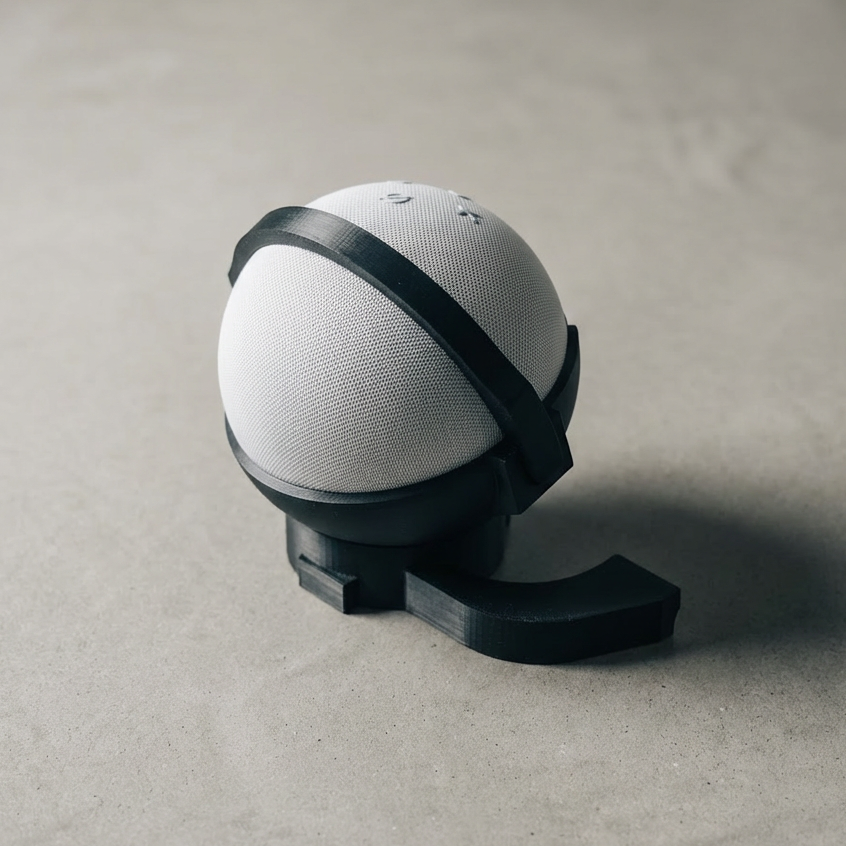
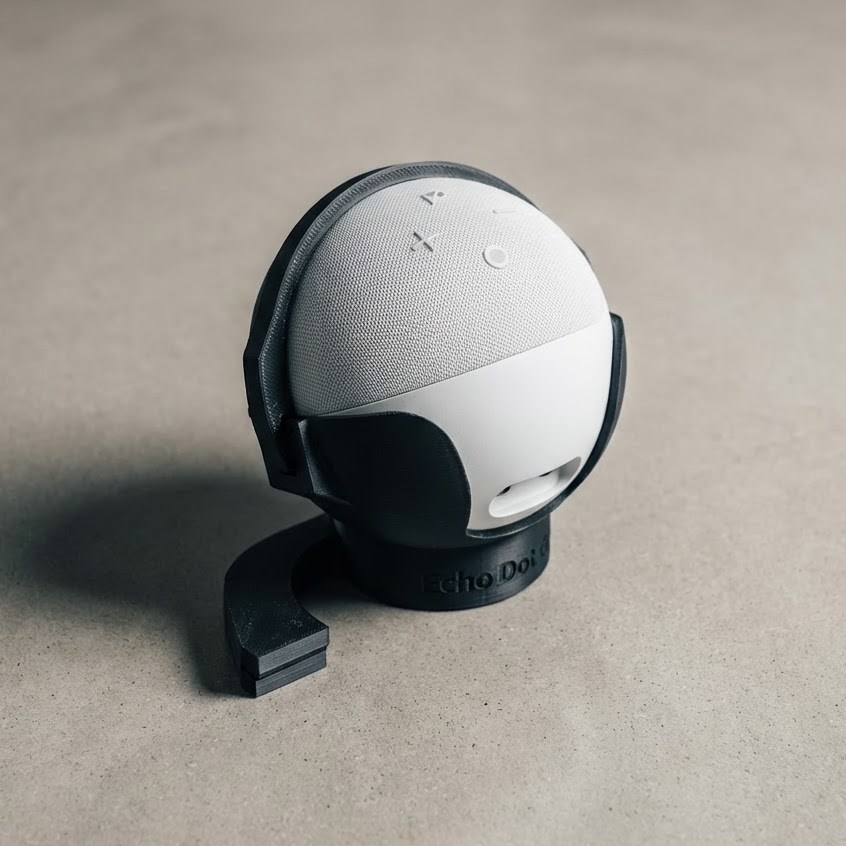
- Standard Shell - Designed for smaller smart devices like the Echo Dot gen 1-3 and Google Nest
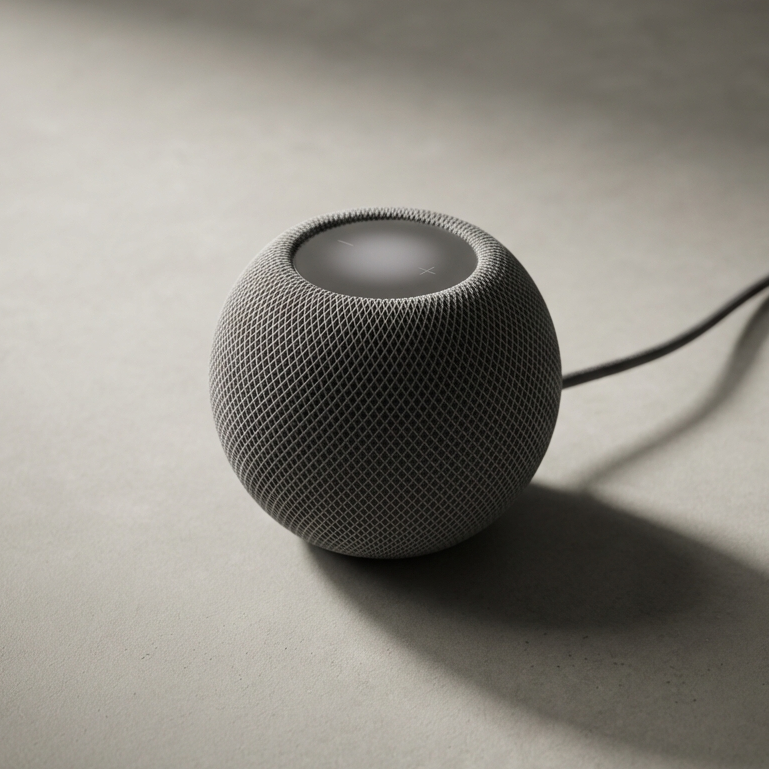
- Deep Shell - Designed for larger devices such as Echo Dot Gen 4/5 and HomePod mini.
This should be pretty obvious, just just make a note for when you go to download and print the shell you need.


Download the 3D Print Files
Get all the print files for this radio on MakerWorld. This includes the full enclosure and all printed components required for this build.
Note: Depending on which smart device you have will depend on what mount you need to print, and which enclosure backing you'll want to print. The print profile will have labels for each.
After you download, come back here for the hardware list and the tutorial sequence.
Download From Makerworld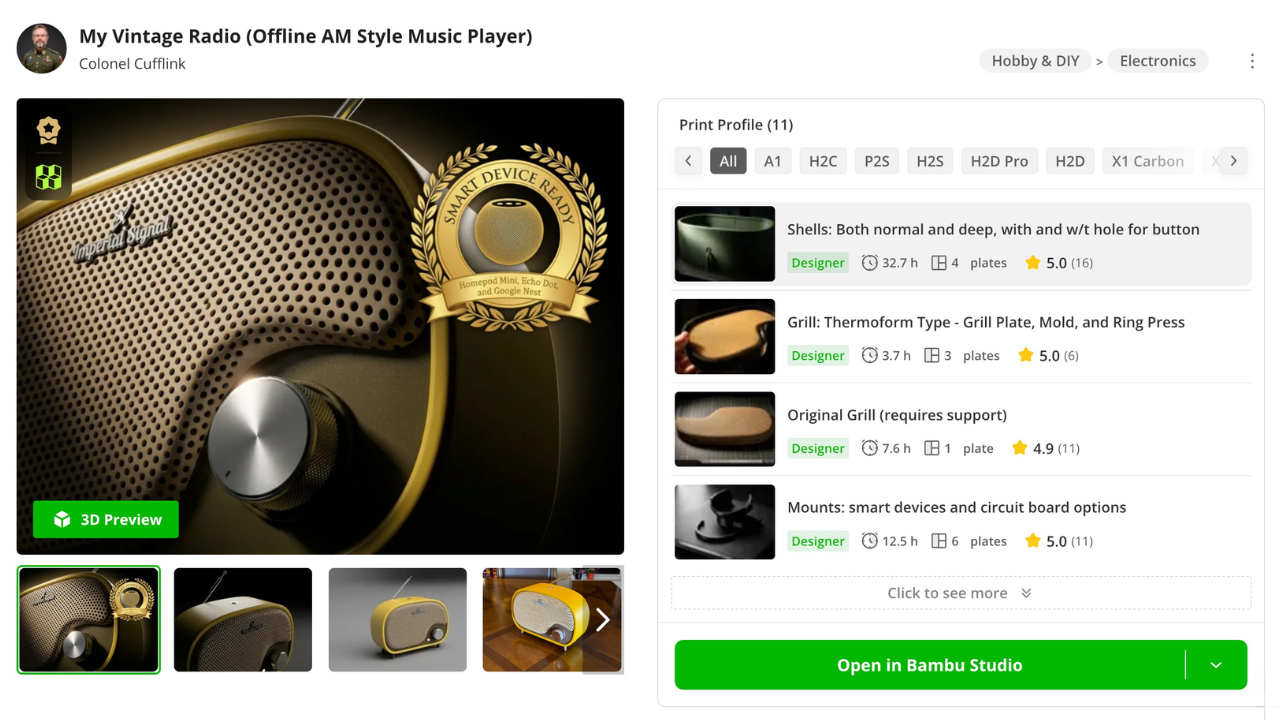
Acquire the Hardware
Here is a list of the hardware you'll need for my design. I'm giving you links to the items I purchased in "bulk". If you're just making one, you might want to take note of what I used, and find a better small quantity to purchase. Sometimes the links I give change, unfortunately, so use the reference picture and description as your guide.
The antenna, knob and pushbutton are not required for this build, since you can just print these instead. However, I think it looks a lot sharper with real aluminum parts for these. It's up to you.
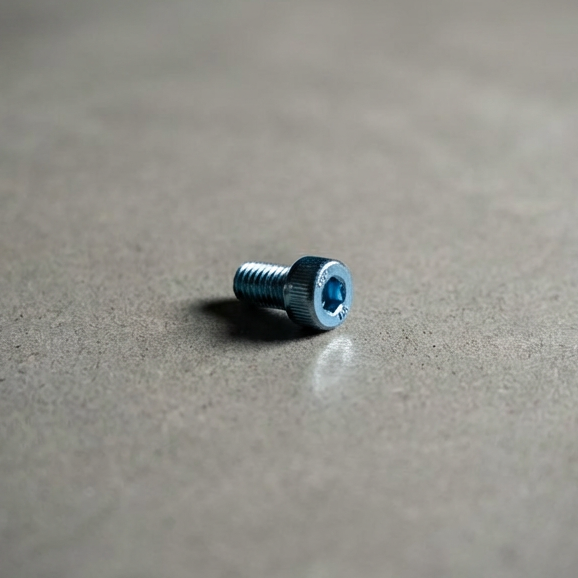
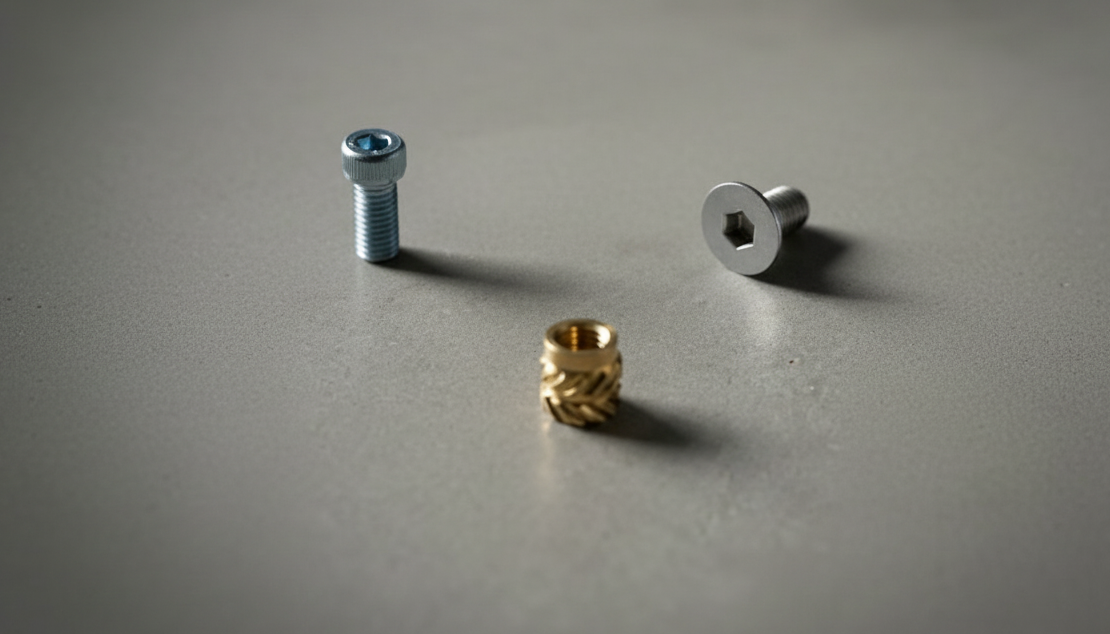
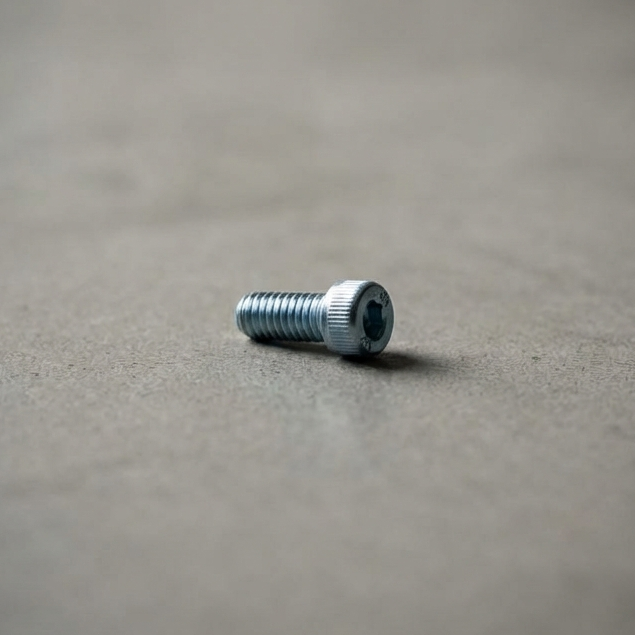
M3x5 Screw
(2x - mount)
Purchase
M3x6 Screw
(1x - antenna)
Purchase
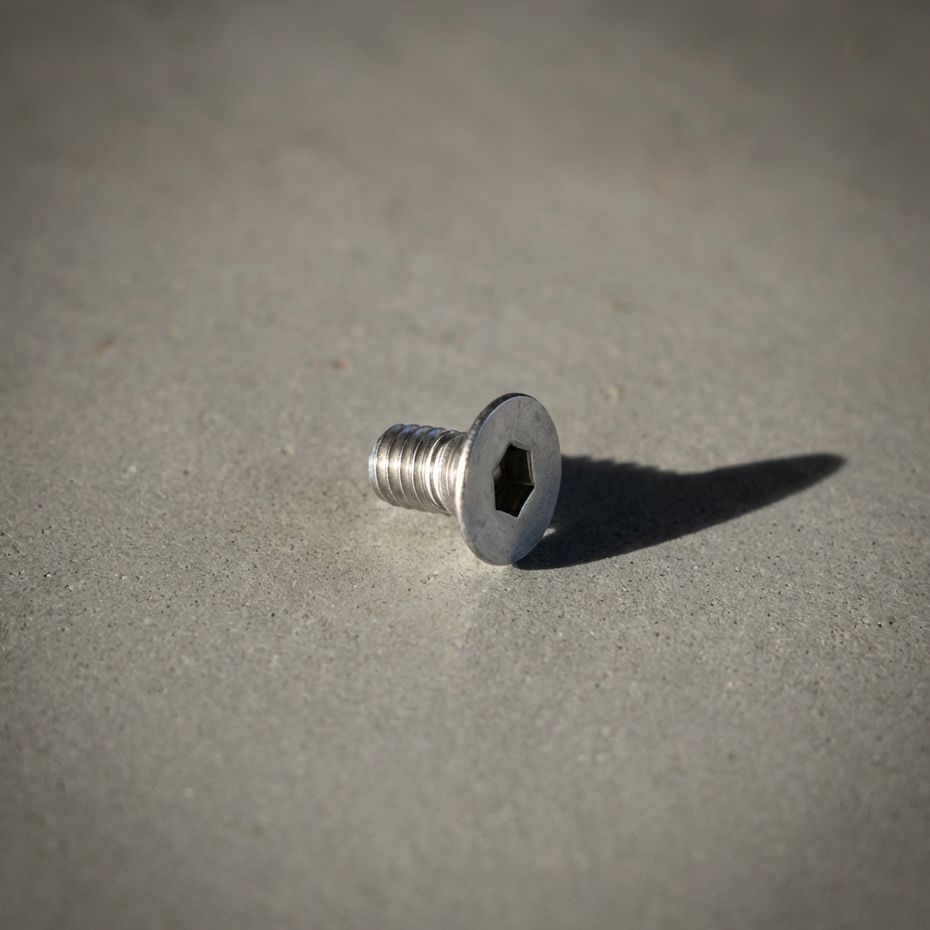
M3x5 Flathead
(2x - back brace)
Purchase
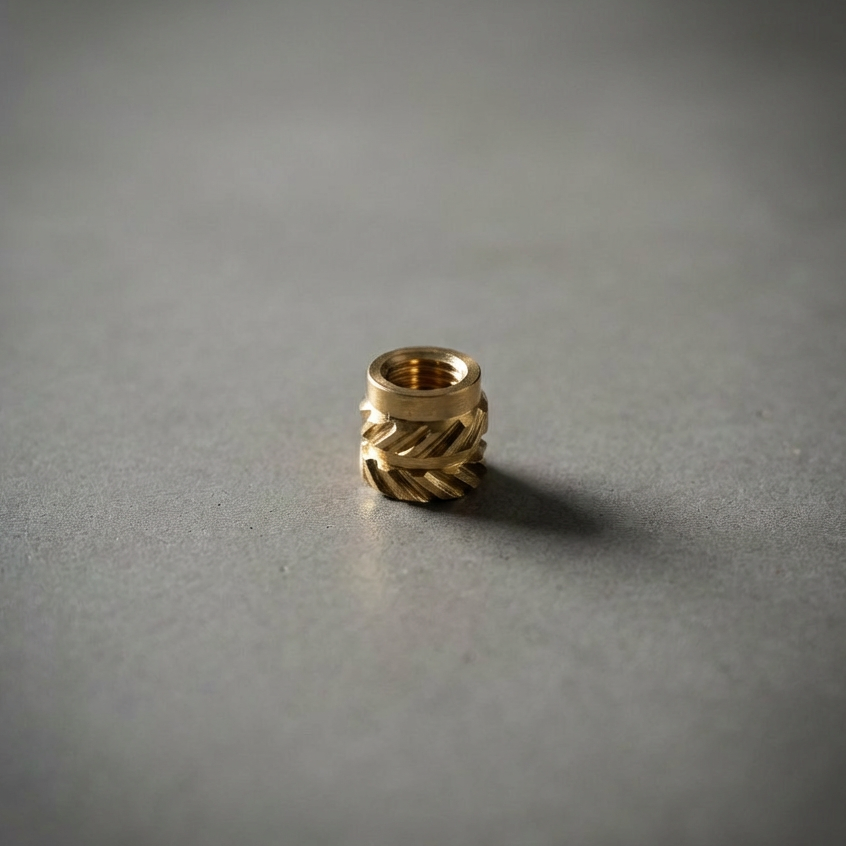
M3 Insert
(5x - for each screw)
Purchase
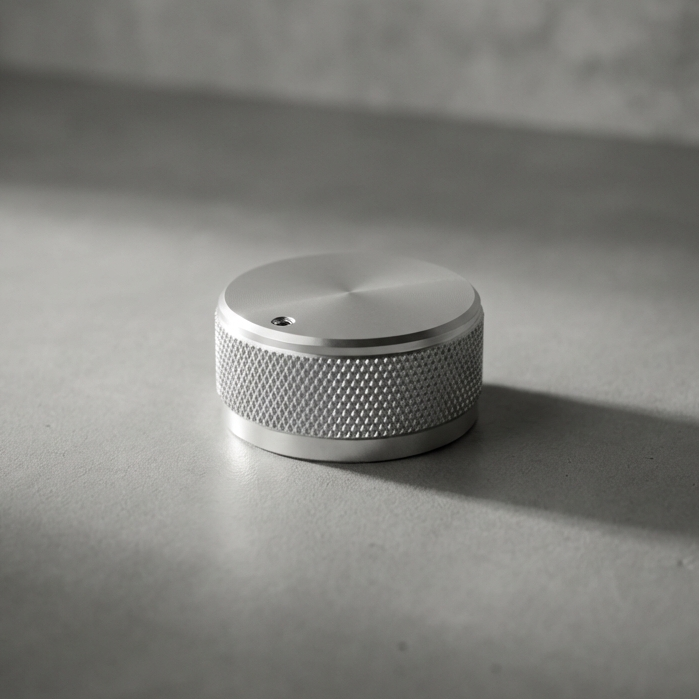
Potentiometer Knob
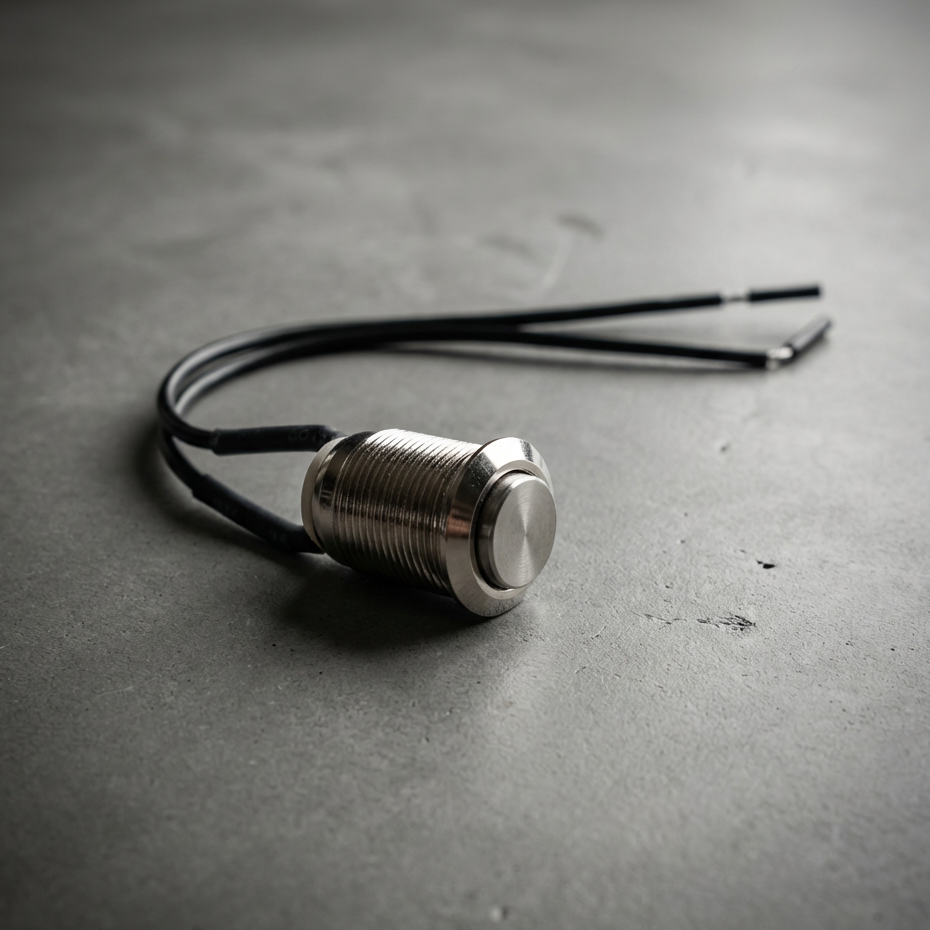
Pushbutton
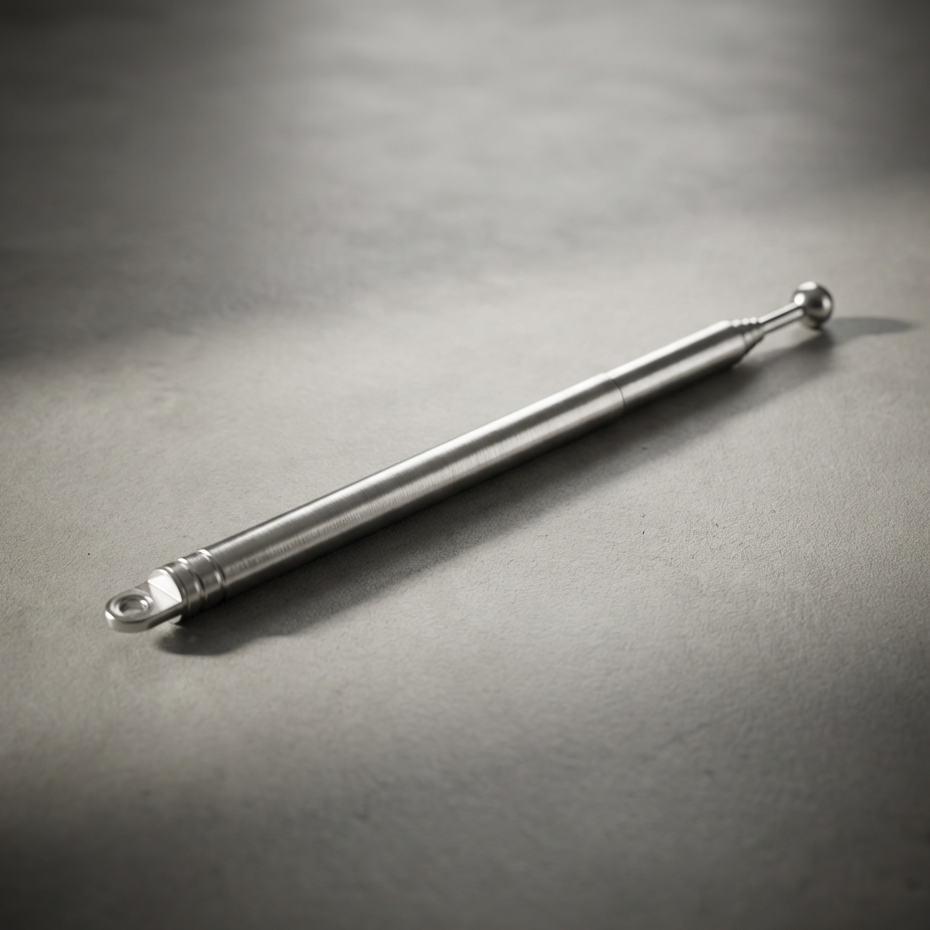
Telescopic Antenna
Purchase
Build Tutorials
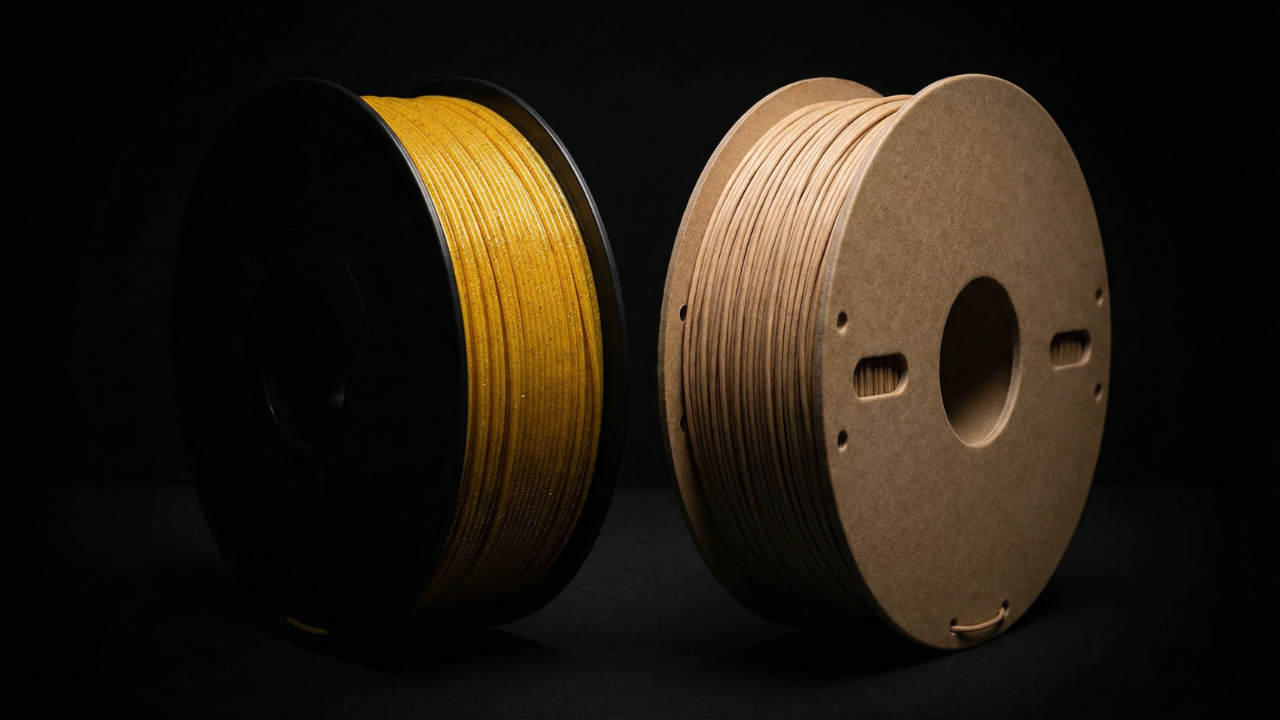
Filament Suggestions
These are the filaments I recommend for printing the radio, based on finish, durability, and how forgiving they are during assembly. The goal is a clean surface, predictable tolerances, and parts that feel intentional once everything comes together.
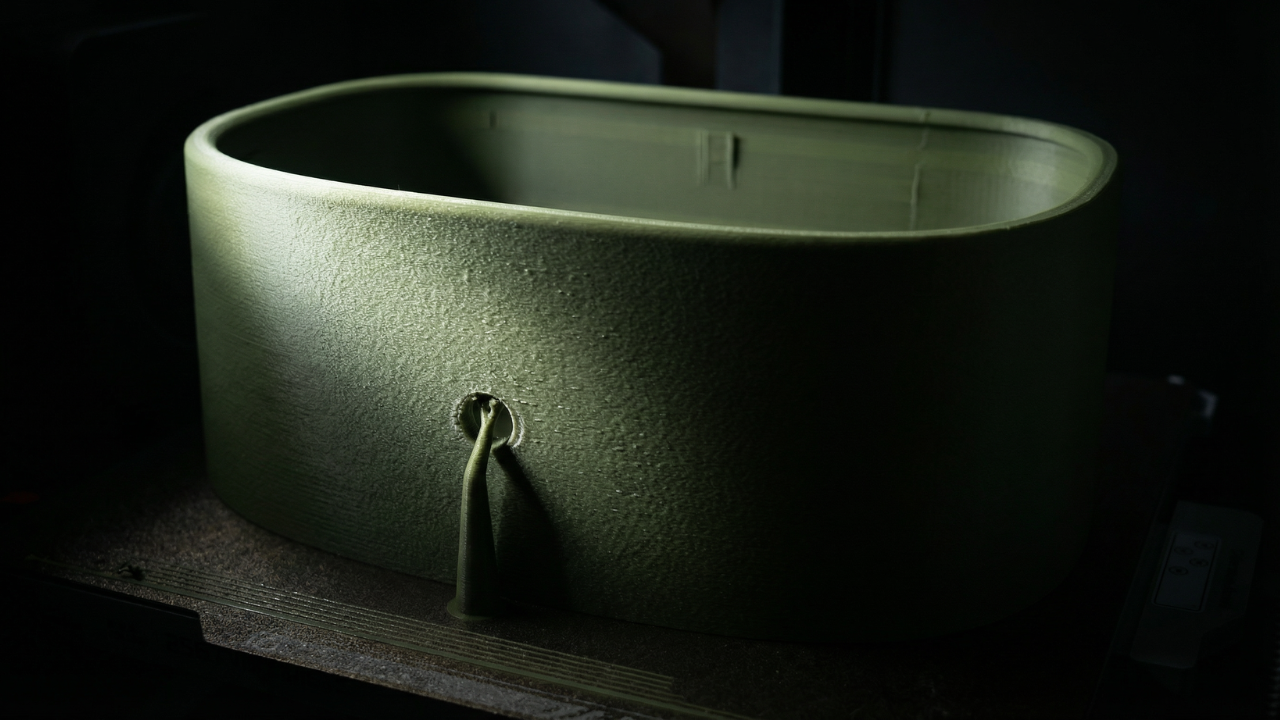
Print Settings
This section covers the slicer settings used to print each part successfully. You’ll see recommended layer heights, wall counts, infill choices, and where supports are intentionally used. The focus is on getting clean surfaces, reliable tolerances, and parts that assemble without fighting you.
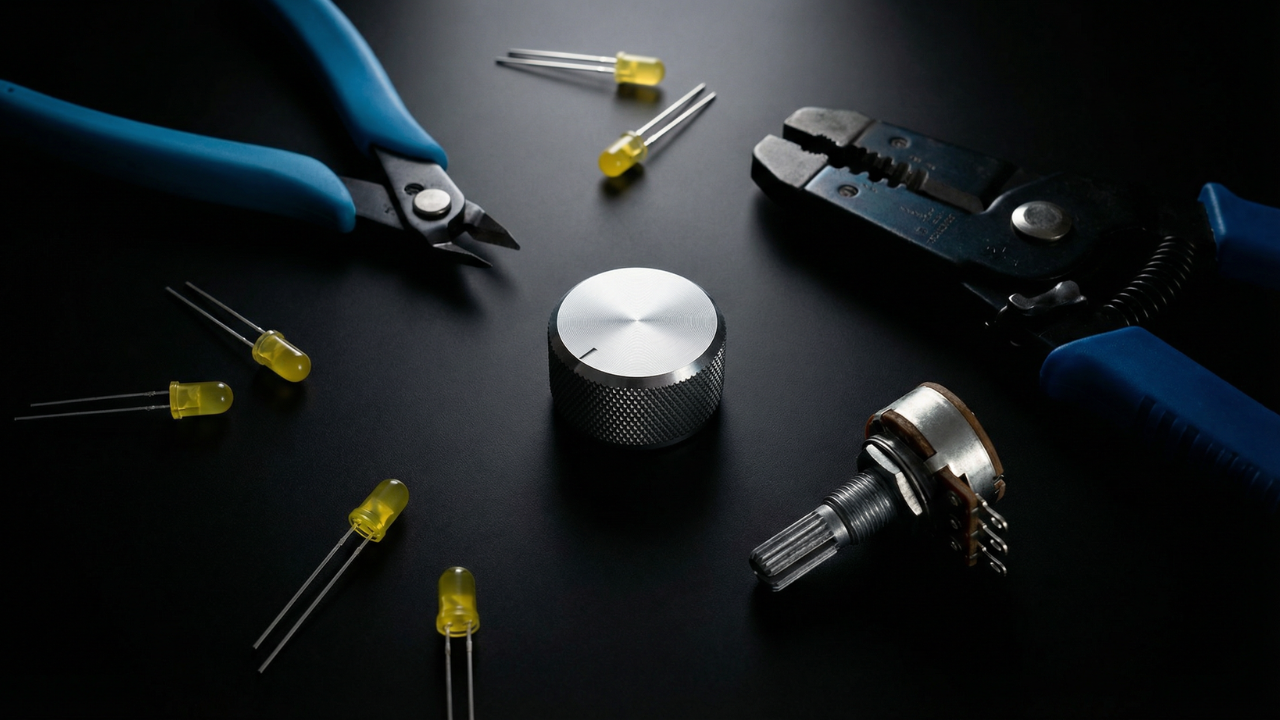
Tools Needed
You don’t need a full workshop to build this. These are the few tools that make the process smooth, precise, and frustration-free, from cutting and stripping wires to tightening the final hardware.

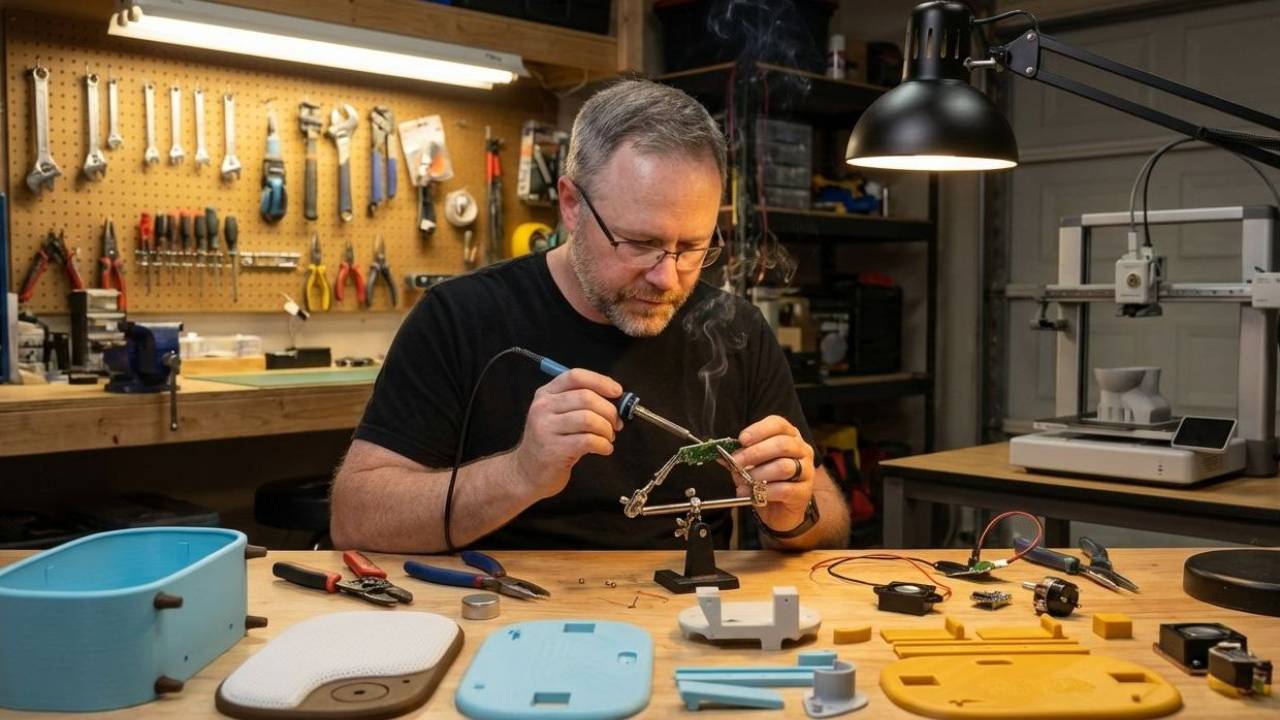
Assembling the Radio
Once everything is tested, it’s time to bring it all together. This final step shows how the parts stack, align, and fasten into the finished radio, turning a collection of components into a working object.
Support the Project?
This project exists because of hours of testing, failed prints, redesigns, and revisions. If you’ve found it useful and want to support future mounts, PCBs, and new designs, you can contribute here. Every spool helps! 🥰
🧵 Buy Me Some FilamentLet's Stay Connected
This project is evolving. When I release new mounts, updated files, PCB revisions, hardware improvements, firmware changes, or entirely new designs, you’ll hear about it first. I’ll also share builder showcases and practical updates that make the radio easier and better to build. No noise. Just relevant information for people actually working on the project. You can unsubscribe anytime.