Custom PCB Version
radio > build it > circuit board > PCB version
Printed Circuit Version
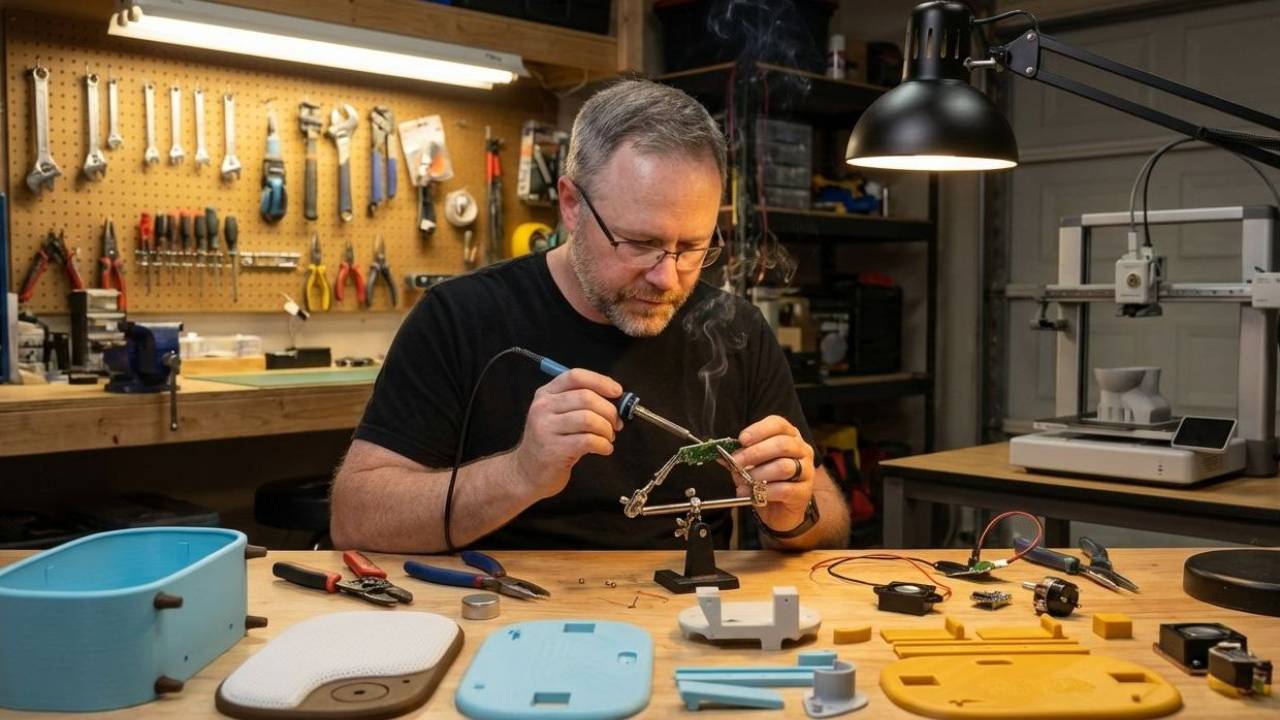
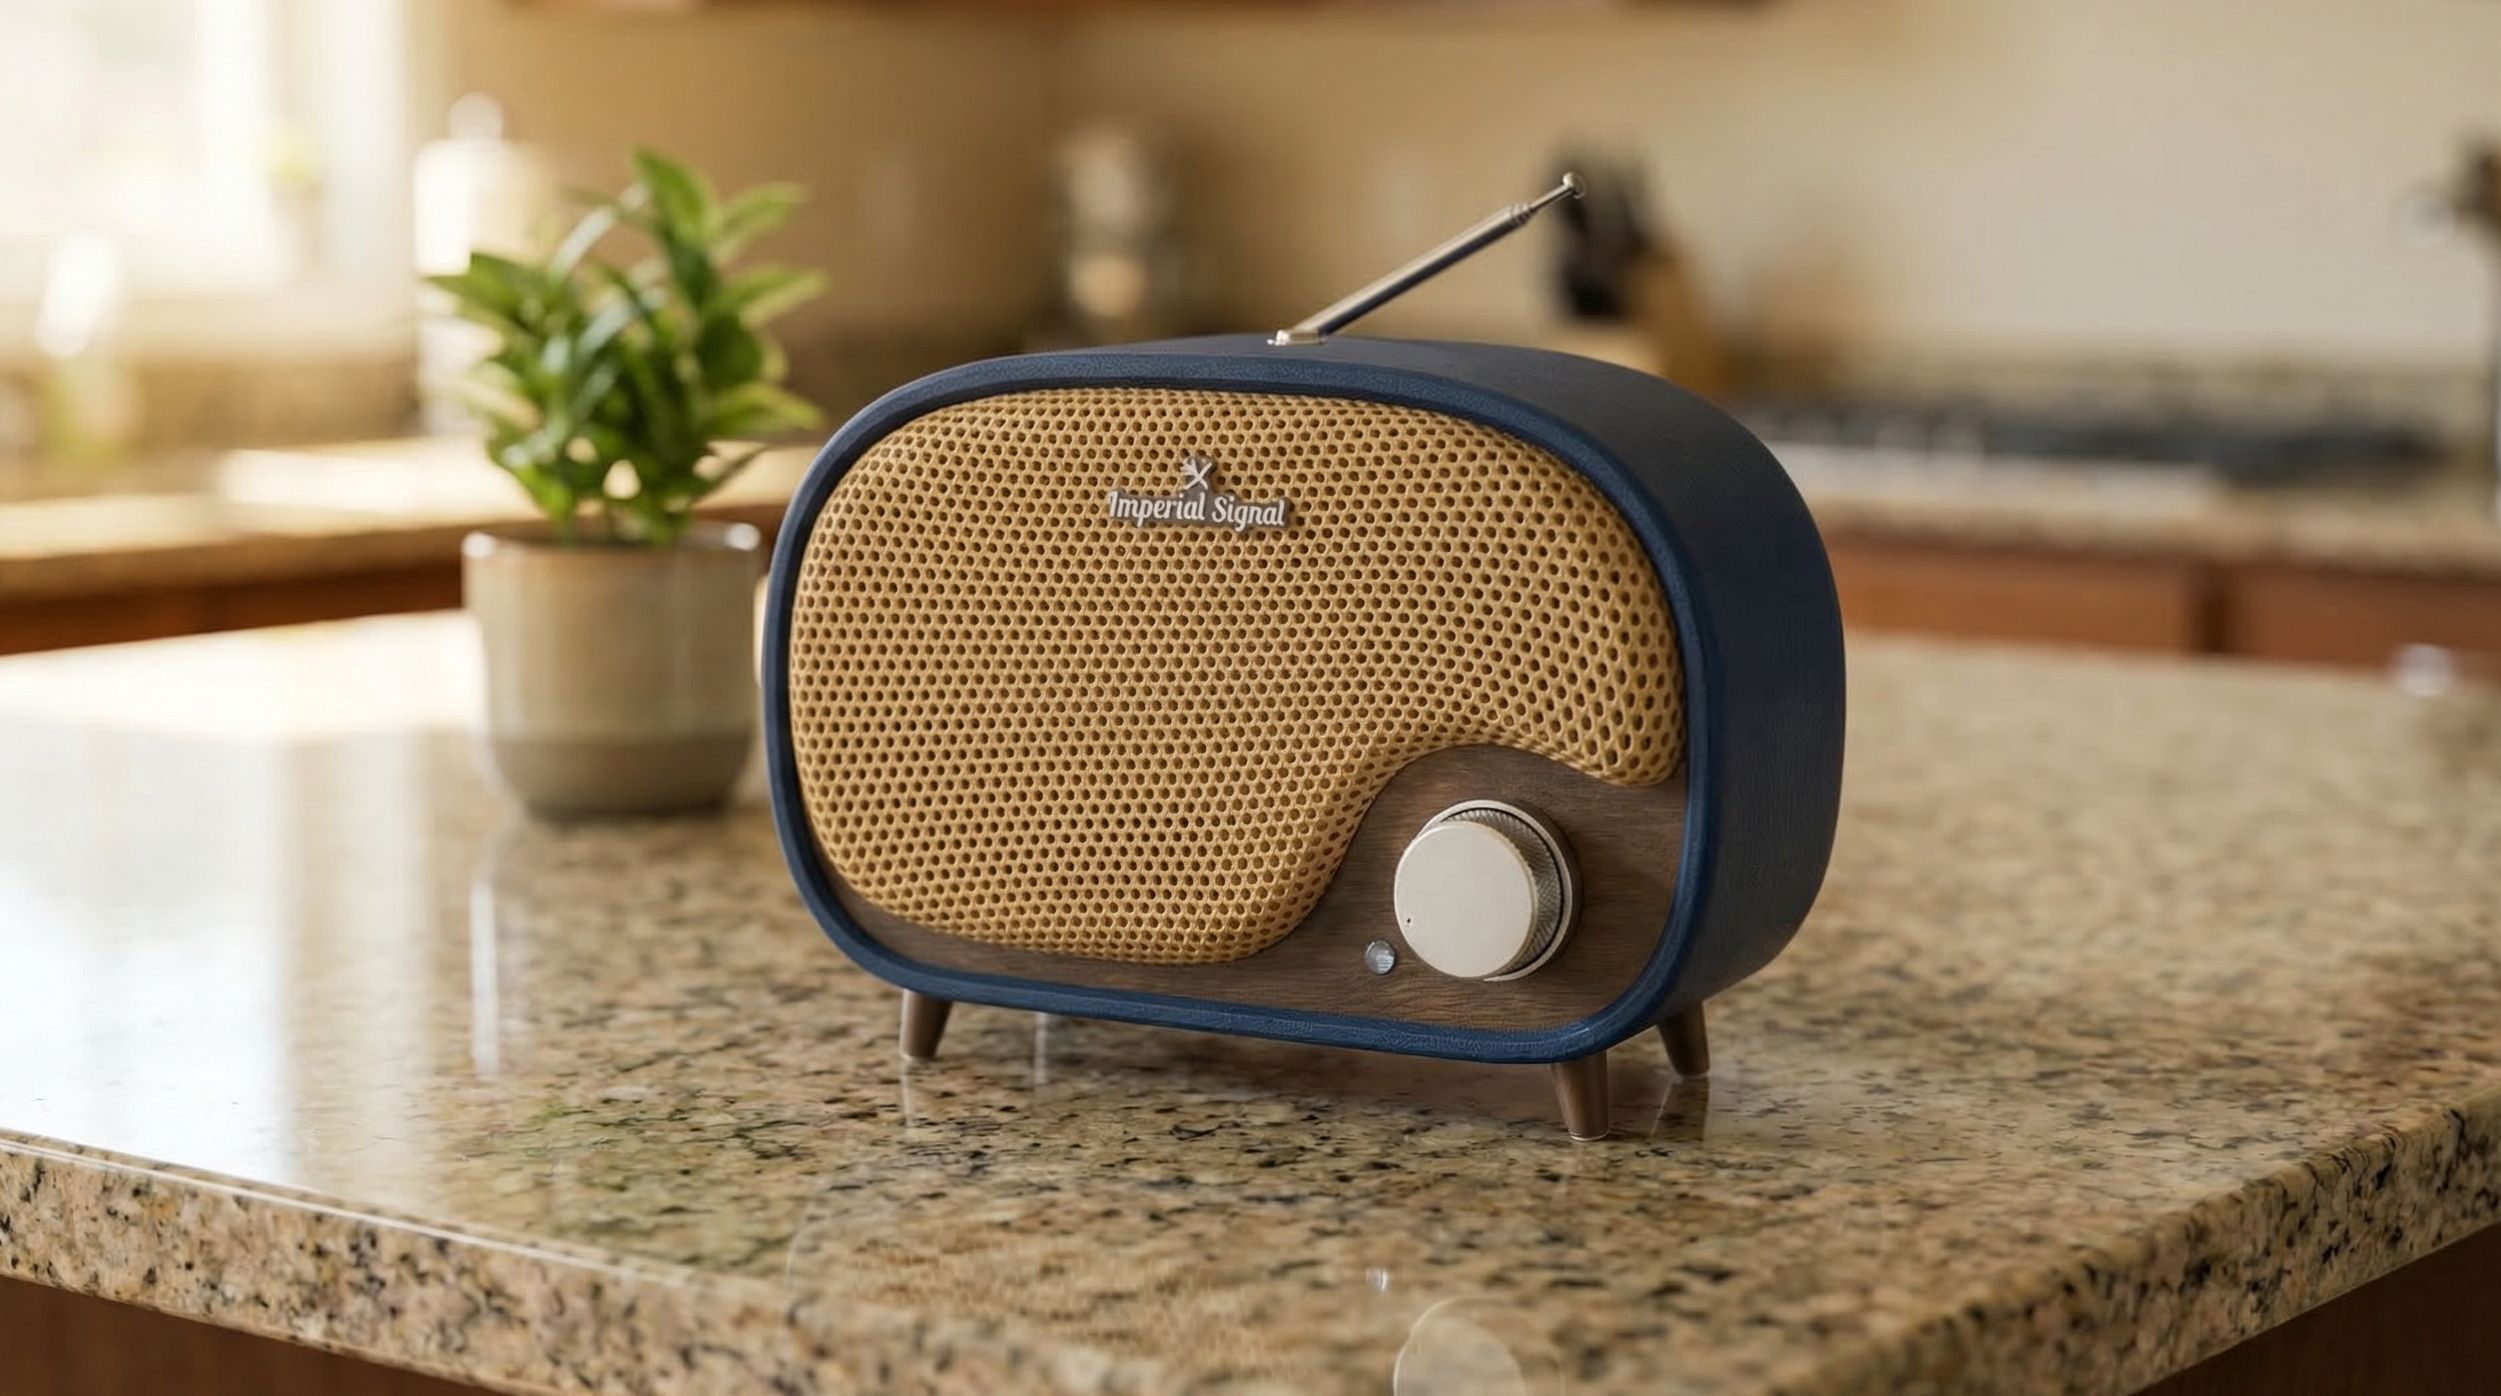
This version of the Vintage Radio uses a custom printed circuit board that replaces the hand-wired electronics used in the original build. The result is a cleaner build, fewer wiring steps, and a more repeatable assembly process.
The PCB was designed and tested by Mark (CanadianAvenger in the Discord community).
Like the original, the audio is mono and intentionally low-fi to resemble the character of old AM broadcasts. You can hear an example in the video below.
Difficulty: Intermediate
Looking for the full software requirements? The complete spec lives HERE.
Why use the PCB build?
The original Vintage Radio was designed to be hand-wired so anyone could build it with basic soldering skills. Many builders loved that approach. Others asked for a cleaner and faster way to assemble the electronics. This PCB version solves that.
The benefits are far fewer wires, cleaner internal layout, faster assembly, easier for beginners, more consistent results.
What This PCB Does
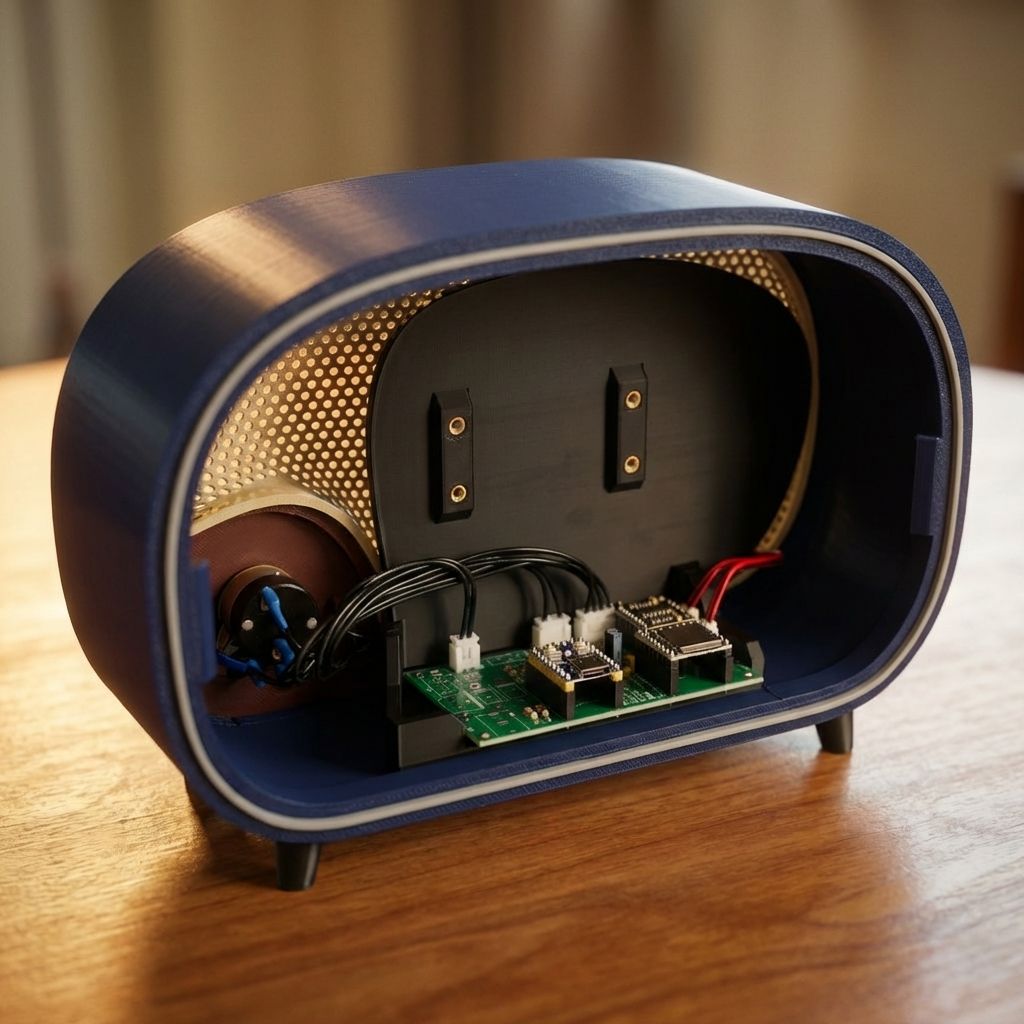
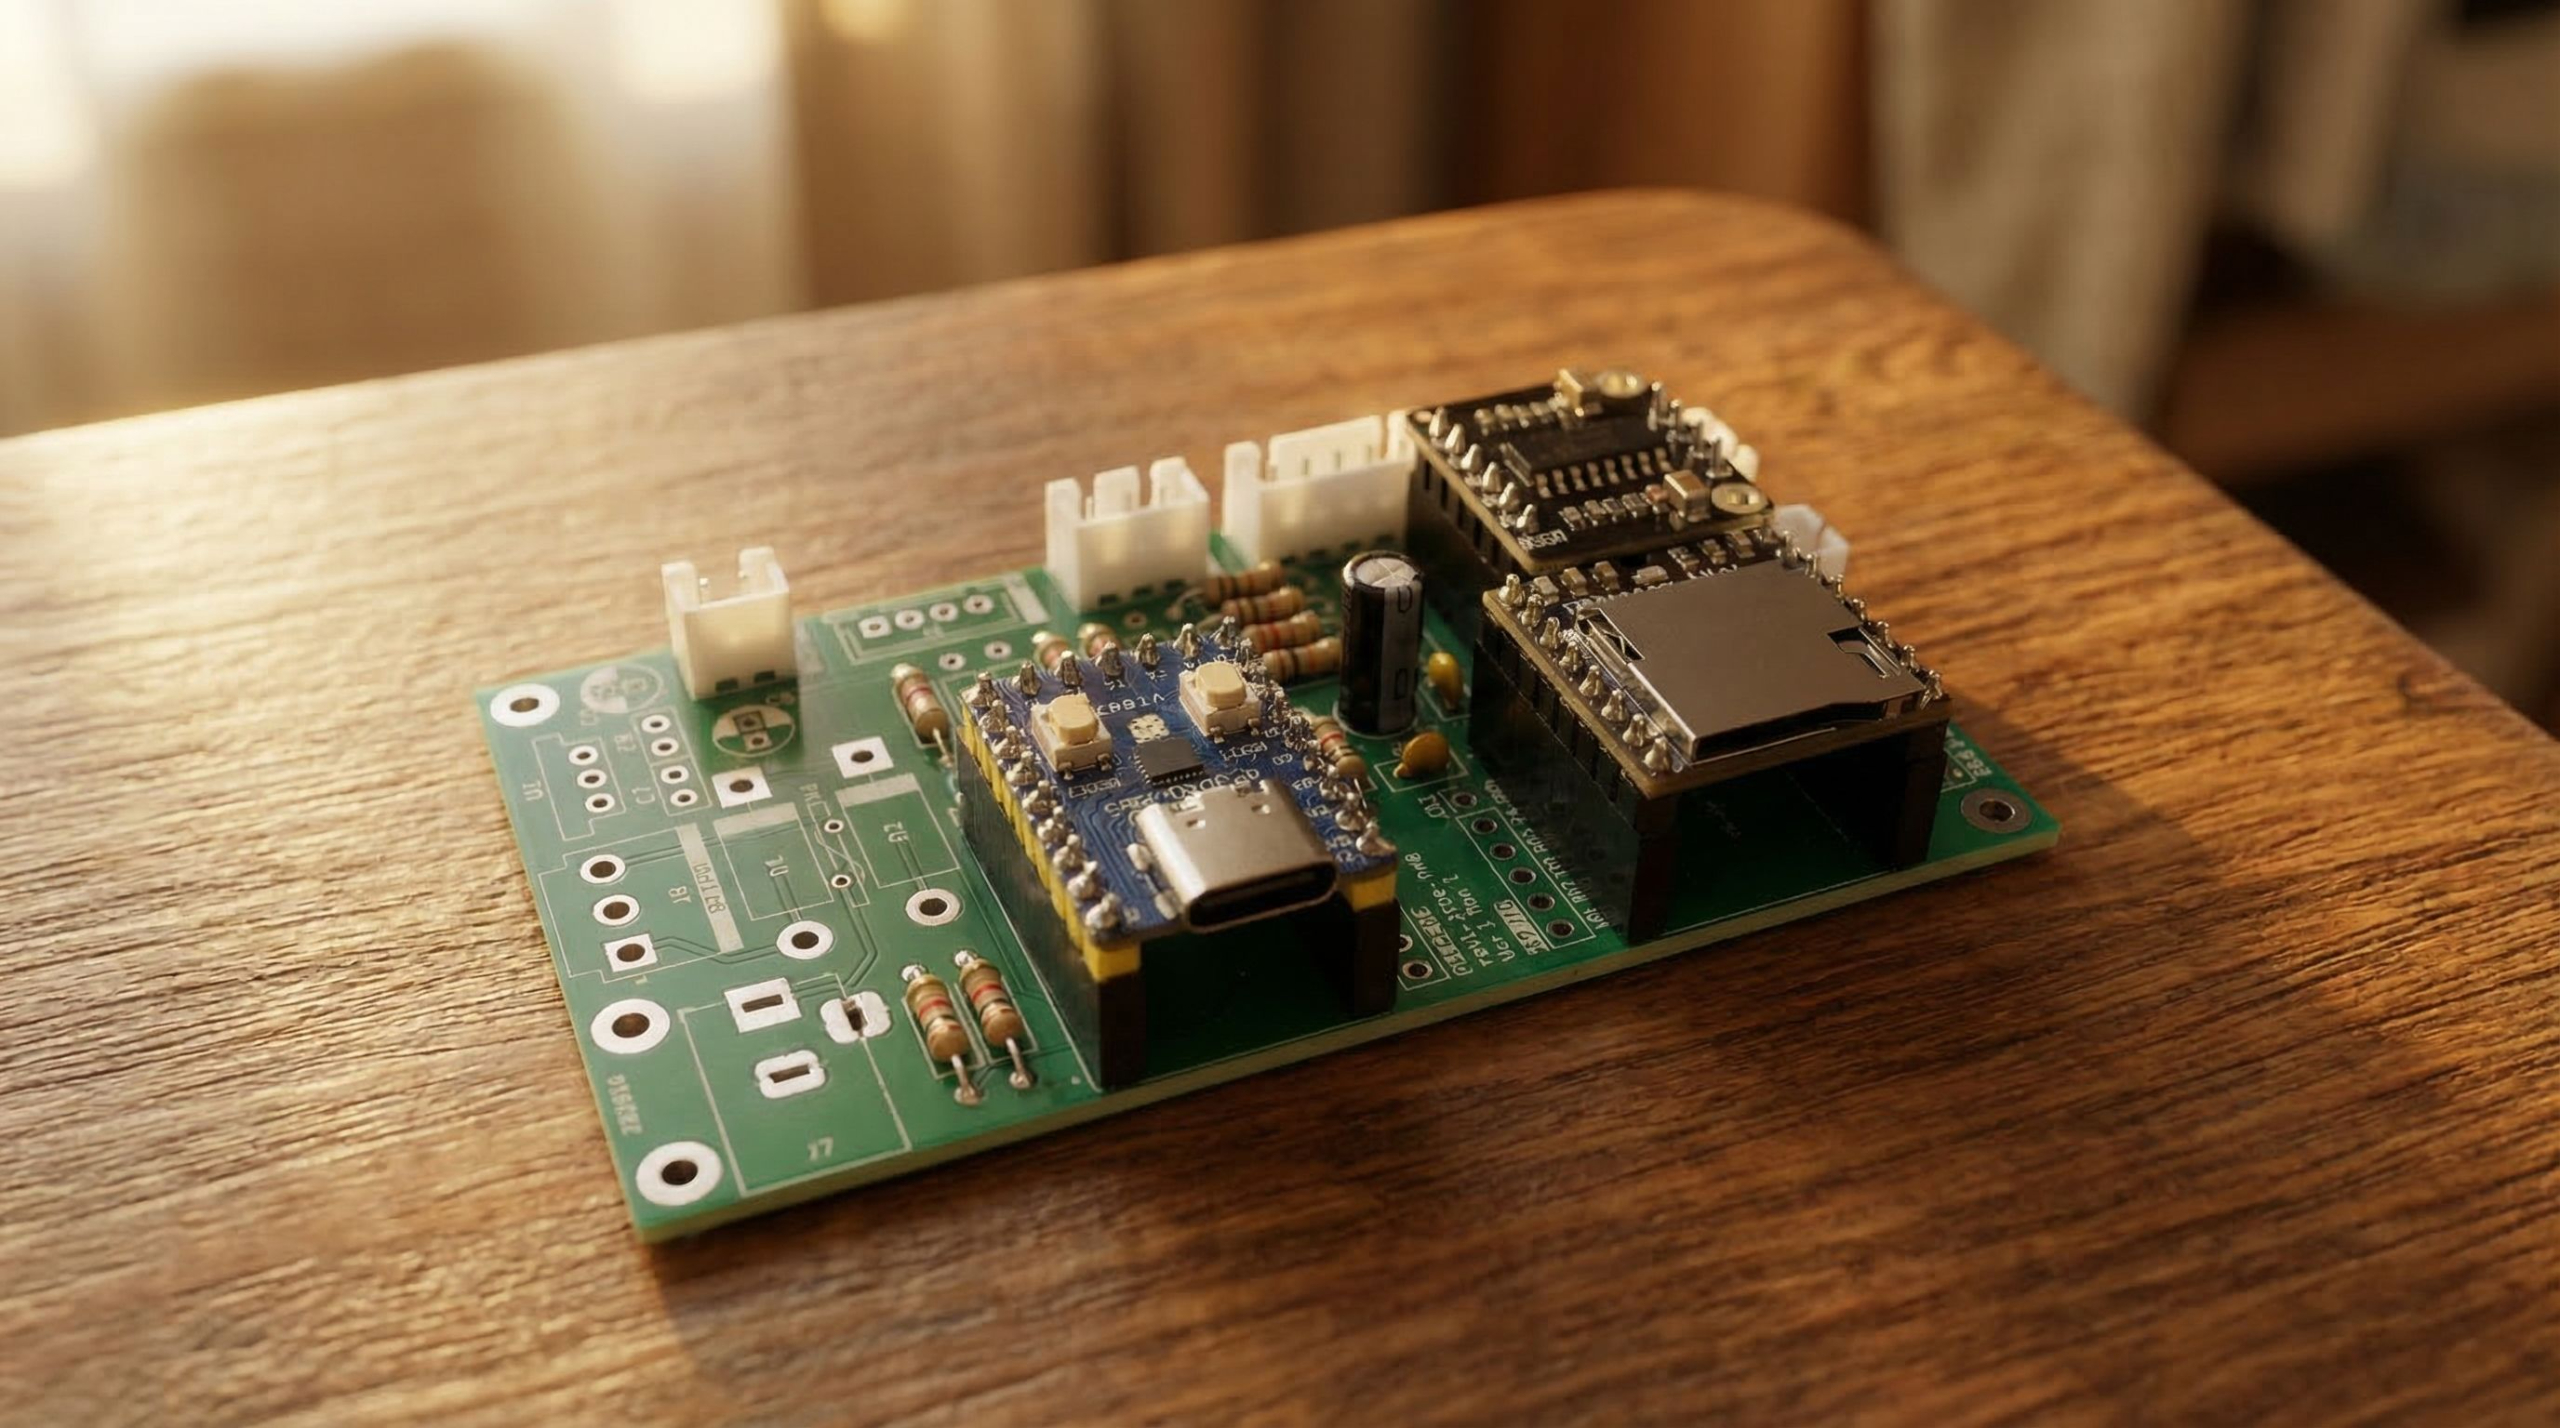
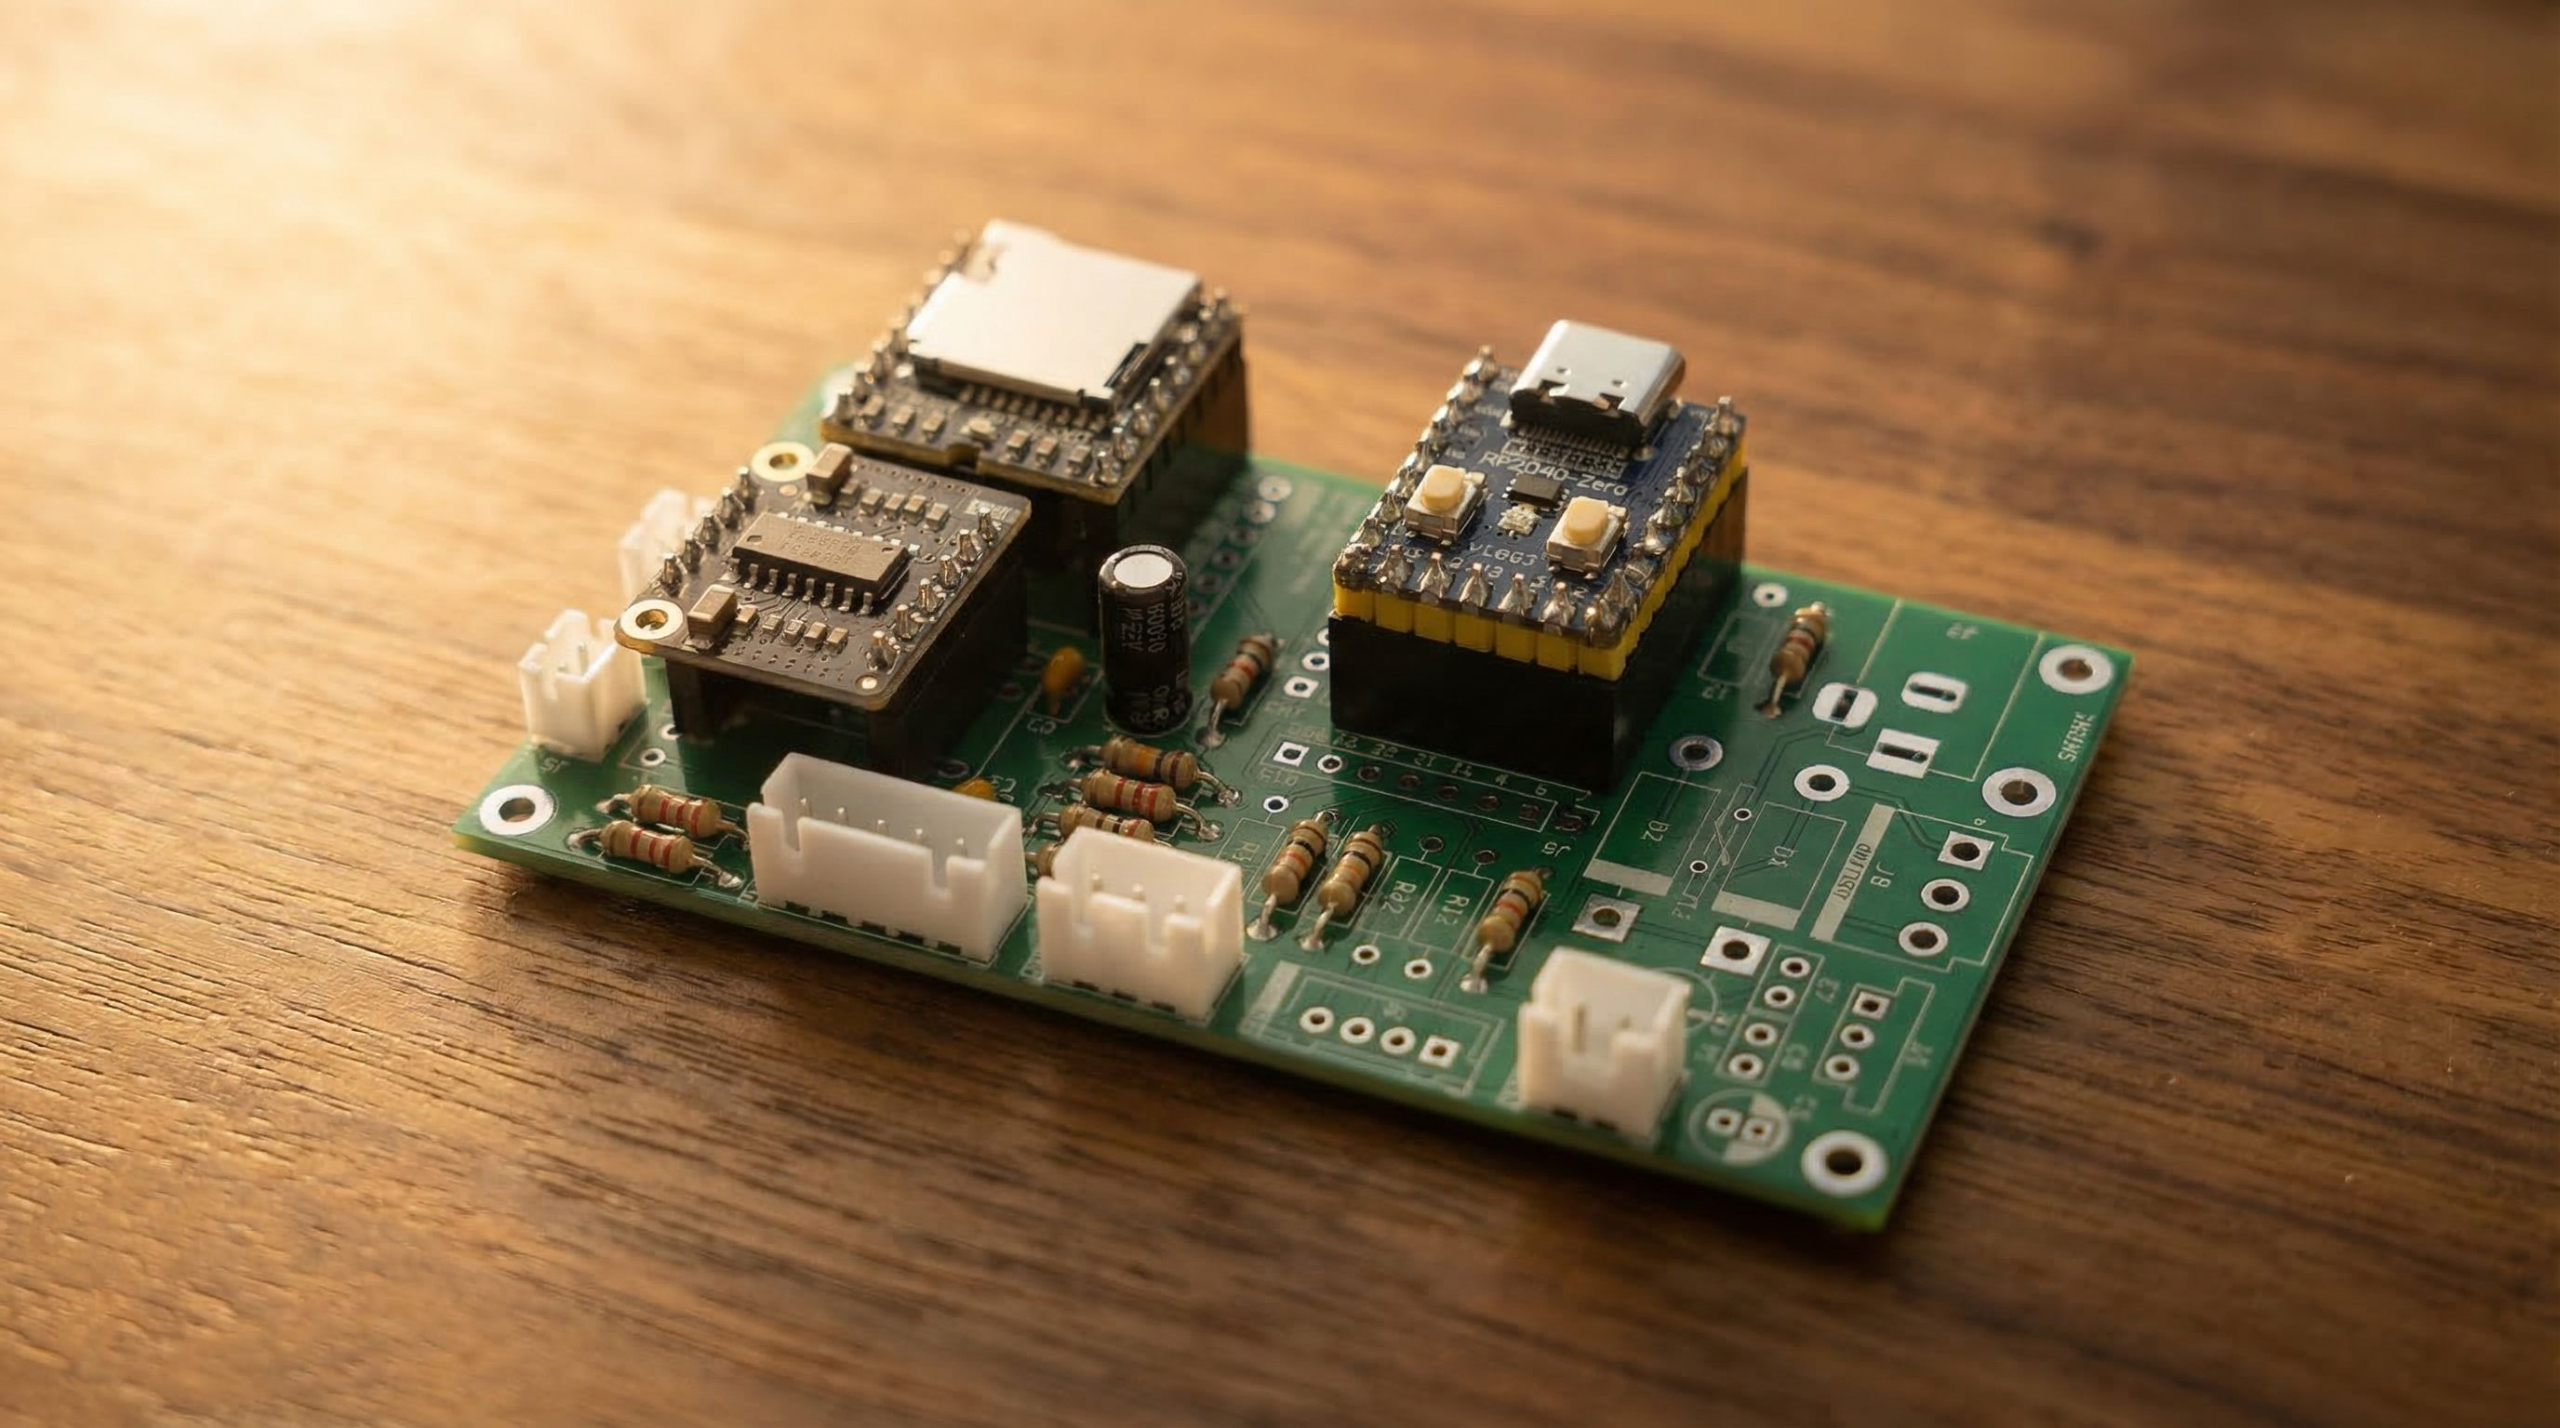
The PCB combines the amplifier circuit, audio routing, buttons, and power management into a single board. Instead of wiring each component individually, you simply solder the components into the board.
The RP2040 microcontroller plugs into the board and runs the Vintage Radio firmware.
Acquire the Hardware
To build the PCB version of the Vintage Radio, you’ll need to order parts from a few different places. Unfortunately there isn’t a single store where everything can be purchased, but we’ve organized the process below so it’s easy to follow.
Start with the printed circuit board itself. After that you’ll order the electronic components from the DigiKey Bill of Materials. Finally there are a few remaining parts that are sourced separately.
Follow the sections below in order and you’ll have everything you need.
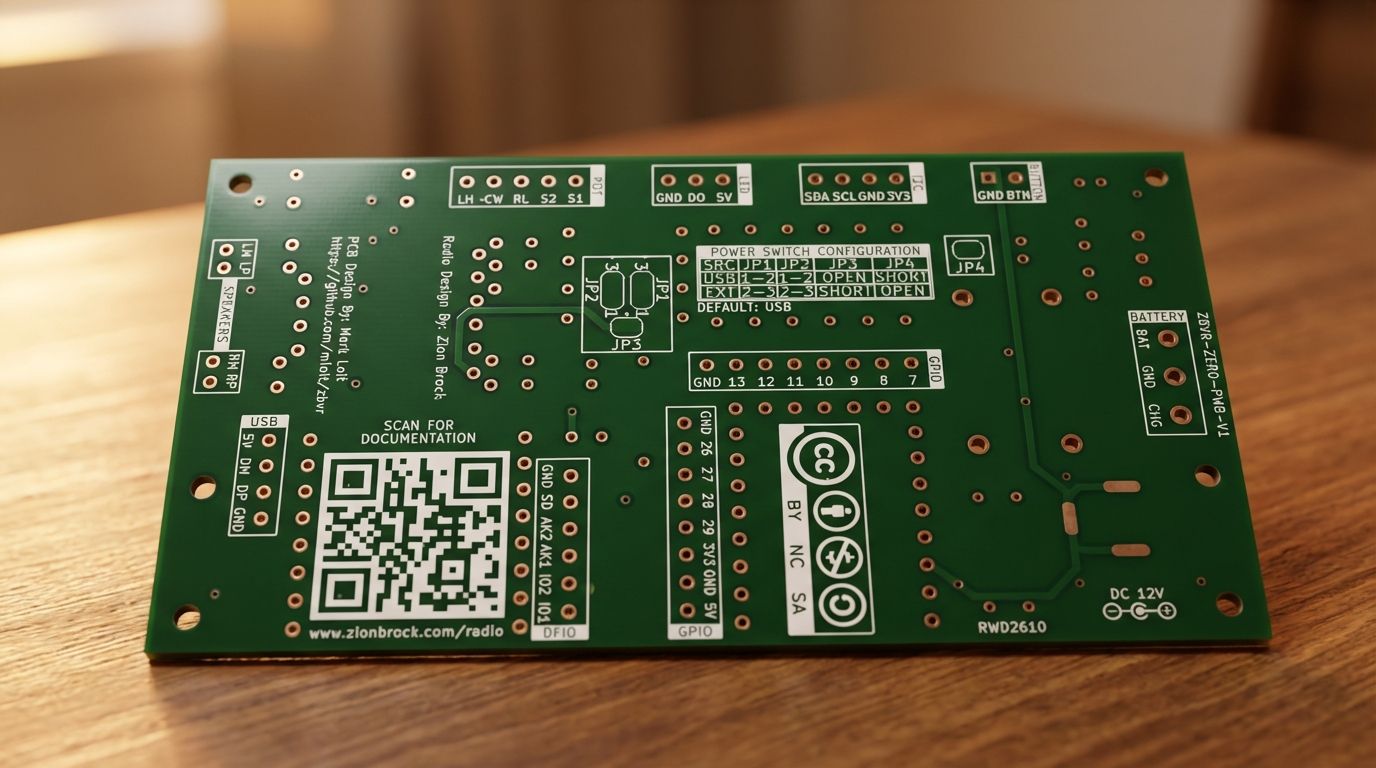
1. Purchase a PCB
This custom printed circuit board (PCB) replaces the hand-wired electronics used in the original build. It allows the amplifier circuit and supporting components to be soldered directly onto a single board, which greatly simplifies the wiring inside the radio.
The PCB was designed and tested by Mark (CanadianAvenger in the Discord community).
For more documentation about the PCB design and schematics go HERE.
If you’re new to PCBWay, you can also create an account using Mark’s referral link here.
If you’ve never ordered a PCB before, the checkout process can feel a little confusing the first time. This short tutorial walks through the process step by step.
You may also see community members offering PCBs locally in your country. Because PCBWay ships from China, some builders purchase boards in bulk and redistribute them within their region. Here are a few:
🇺🇸 For US orders, email Scott or @scottiniowa through Discord
🇬🇧 For UK and Europe orders, email Roy or @Muppetvision3D through Discord
🇨🇦 For CA orders, email Mark or @CanadianAvenger through Discord
If you’d like to offer this in your country, contact Zion (@zionbrock) in the Discord community.
Order Through PCBWay2. Purchase Electronic Components
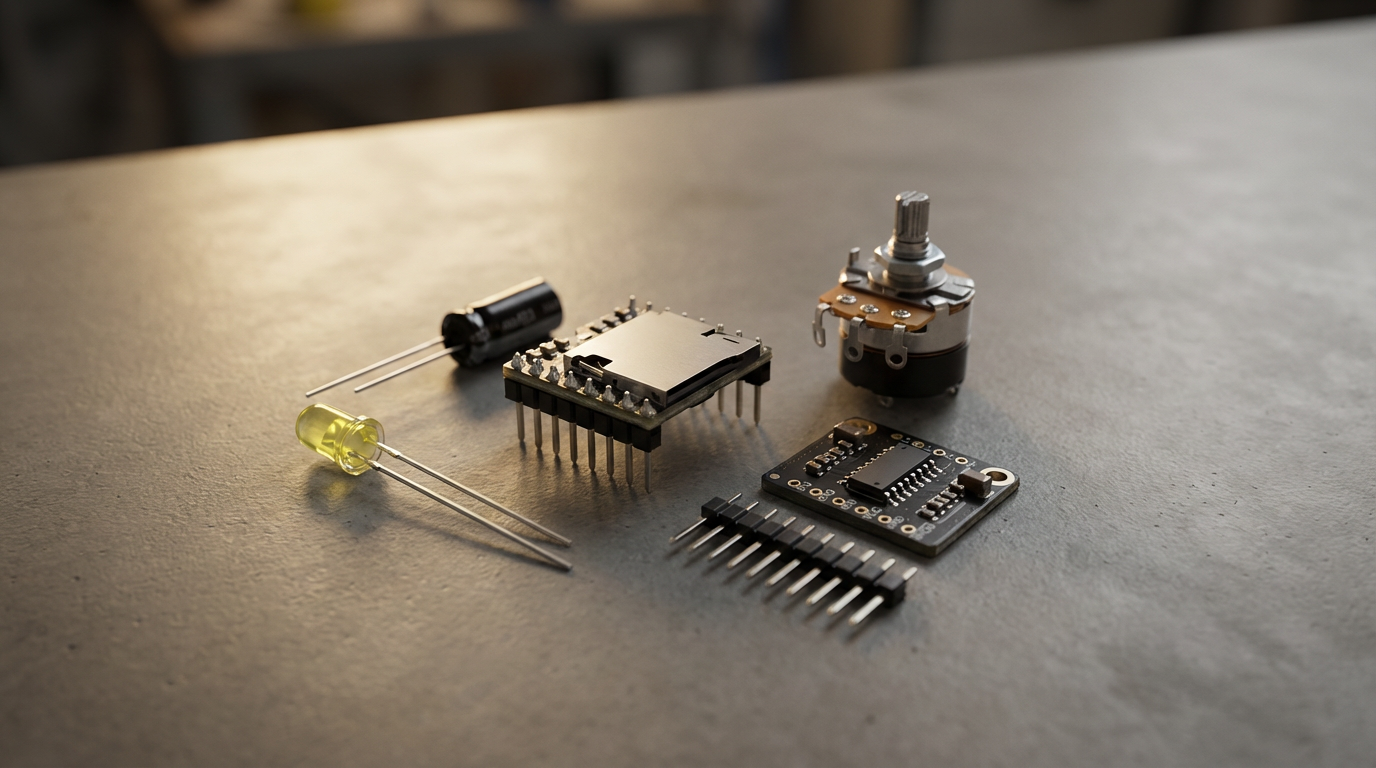
Next you’ll need the electronic components that get soldered onto the PCB. These parts are organized in a Bill of Materials (BOM) that can be ordered directly through DigiKey.
Important notes before ordering:
- The BOM includes all of the circuit components used on the PCB, except the RP2040 microcontroller, and the PAM8403 Amp
- The BOM quantity is for one radio
- The BOM does NOT include the the pushbutton or the speakers. Links to those are in the next section.
- The BOM does not include the optional hardware pieces like the antenna and volumen knob
If you’re building multiple radios you can adjust quantities before checkout
Before placing your order, create a DigiKey account and set your country correctly. This helps avoid unexpected brokerage fees during shipping.
I have made a short video for you to see how I go about using the DigiKey site to purchase multiple, as well as exclude parts from my order I might already own.
Order Through DigiKey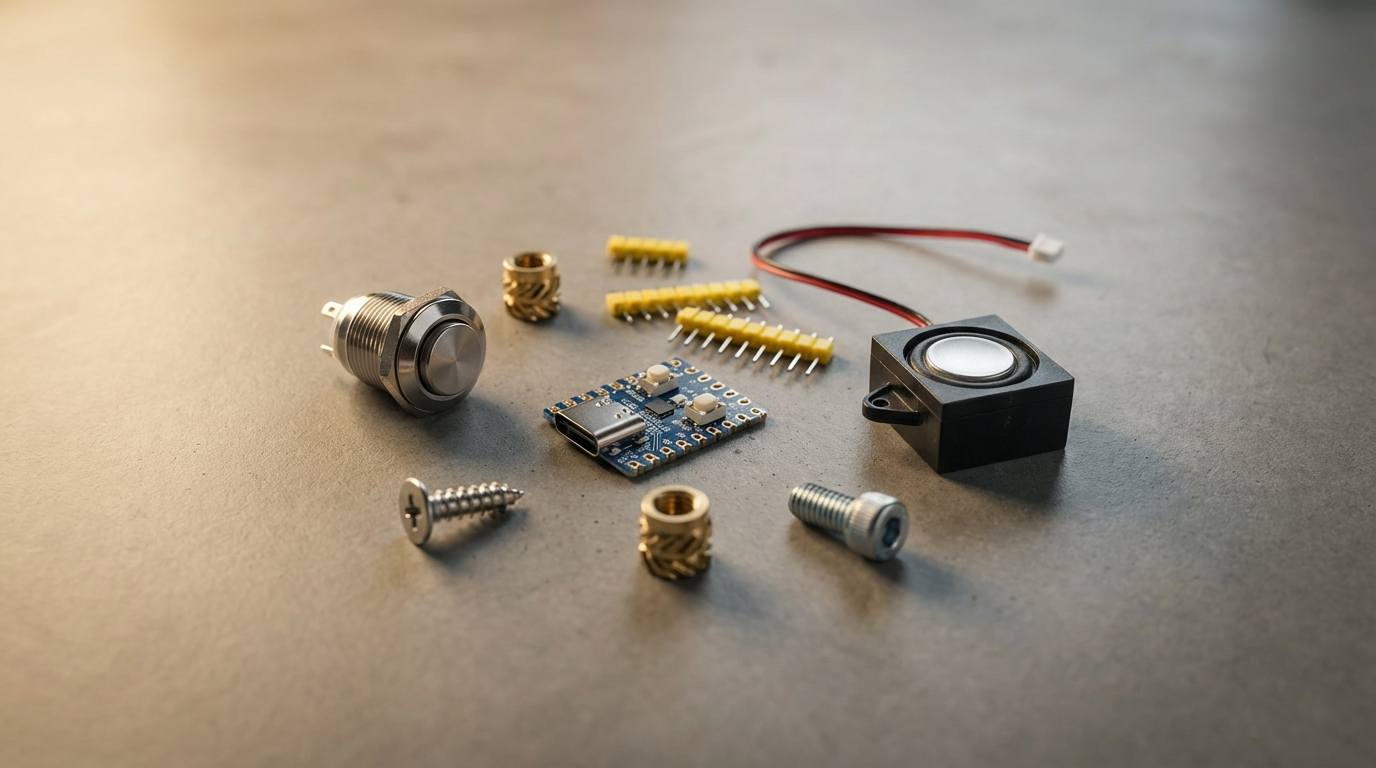
3. Purchase Remaining Hardware
Here is a list of the extra hardware items you'll need that aren't found in the DigiKey BOM. The links I'm sharing with each one are subject to change, unfortunately, because they're mostly Amazon. So if the link doesn't work, make a note of what you see in the image, and find an equivelent part.
The antenna and knob are not needed, since you can print these out. However, I love the look of the chrome aluminum look, for that more authentic radio look.
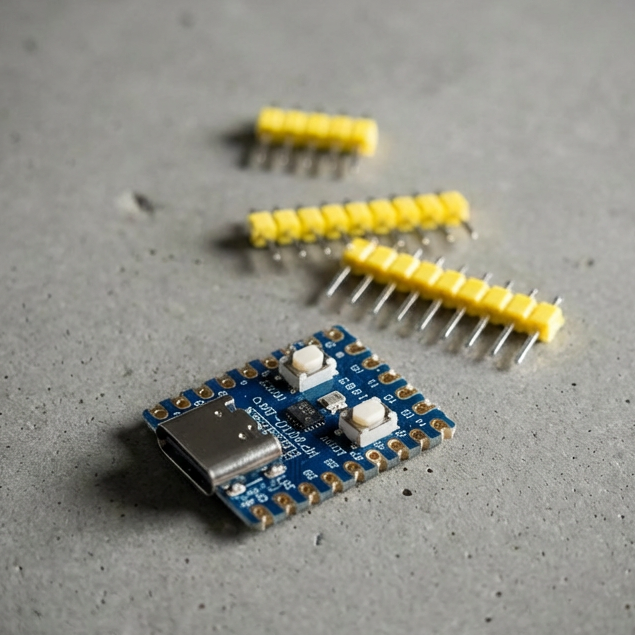
RP2040-Zero Microcontroller
Purchase
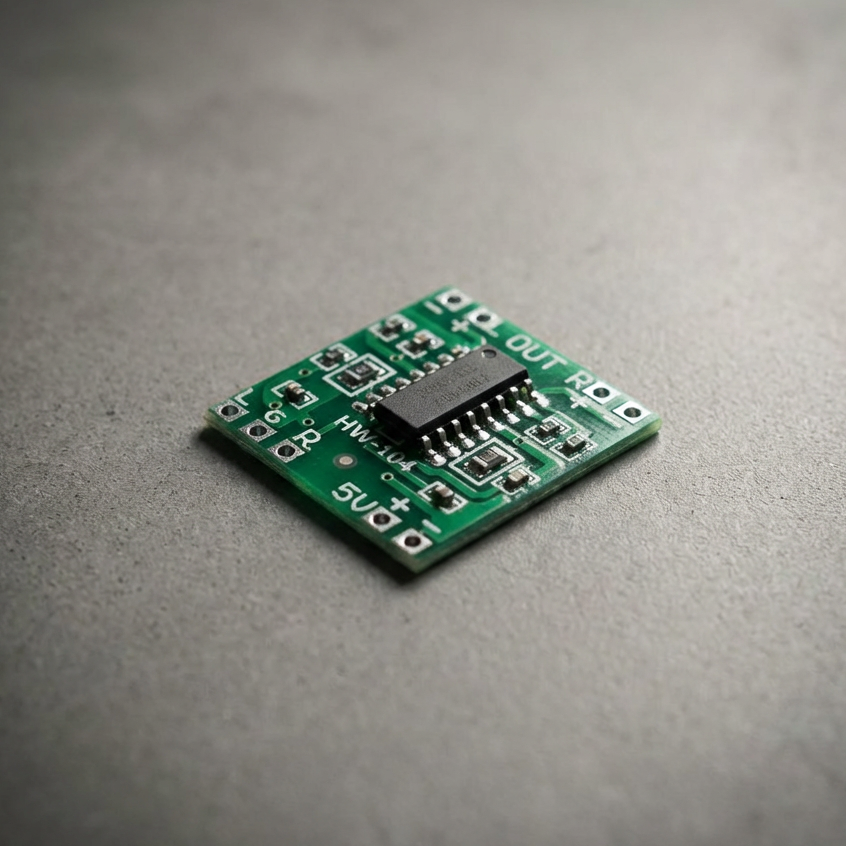
PAM8403 Amp
Purchase
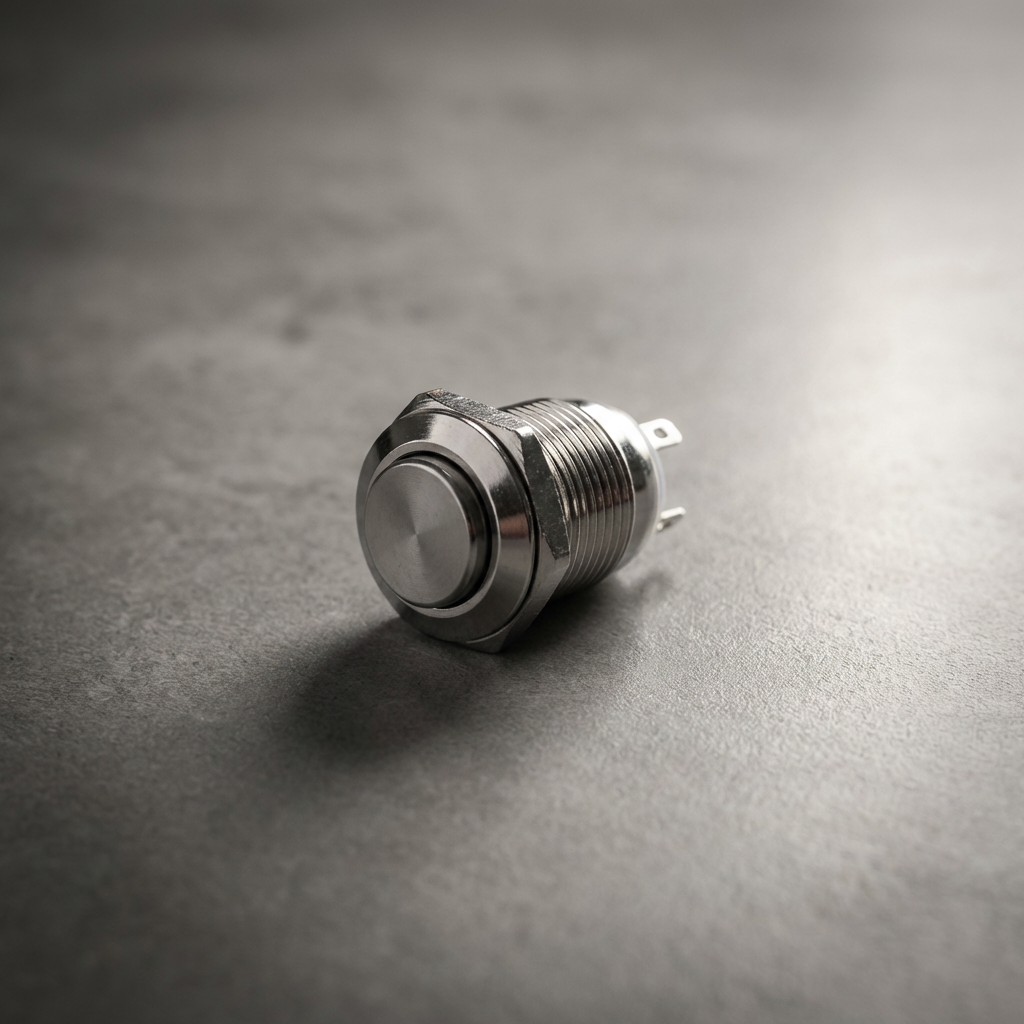
Pushbutton
Purchase
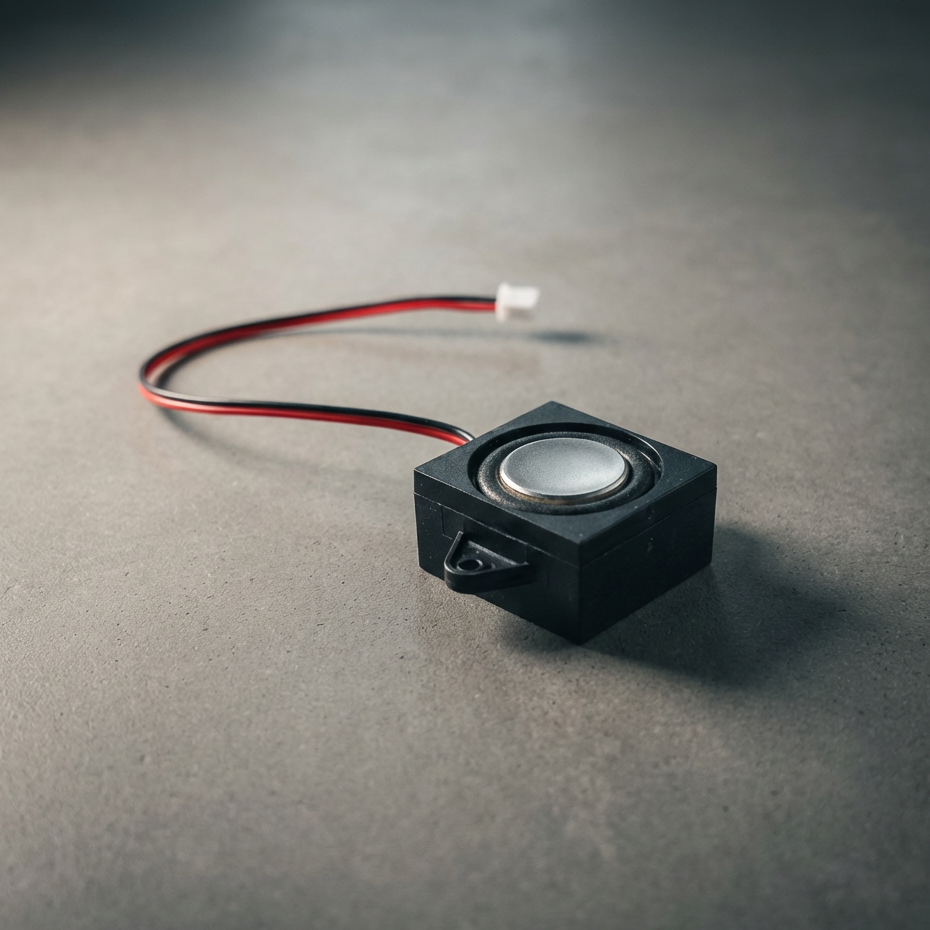
Speaker (2x)
Purchase
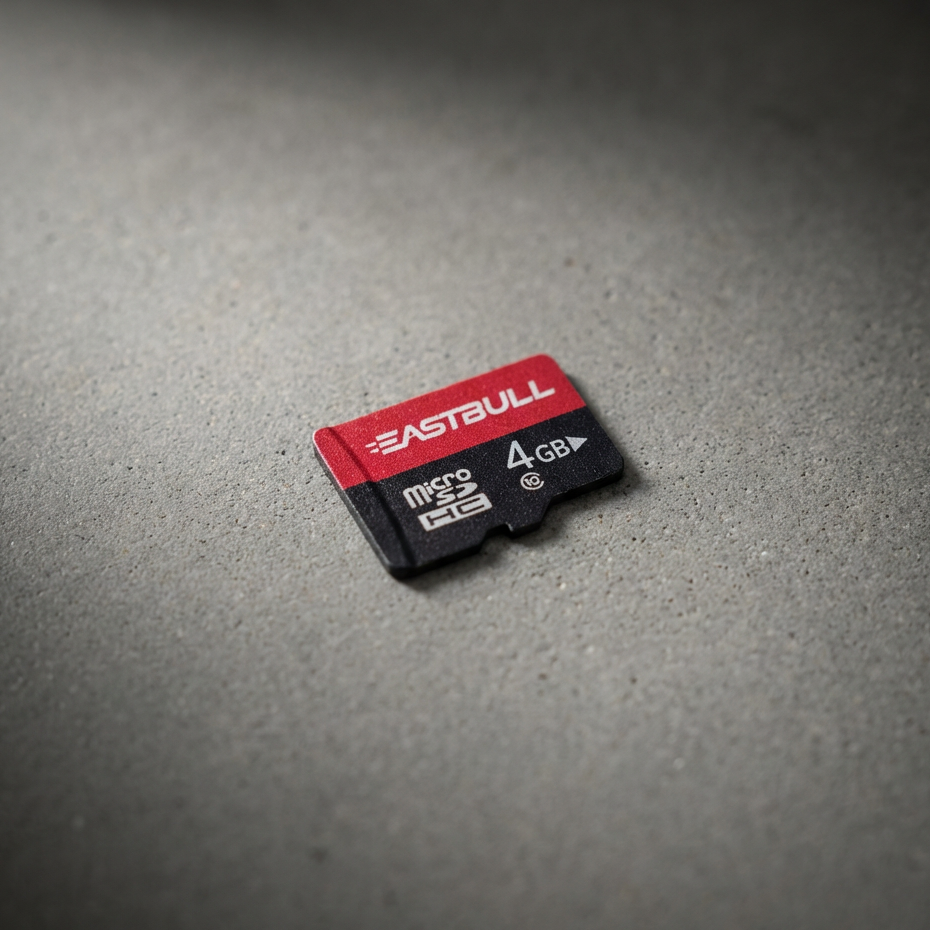
MicroSD Card
Purchase
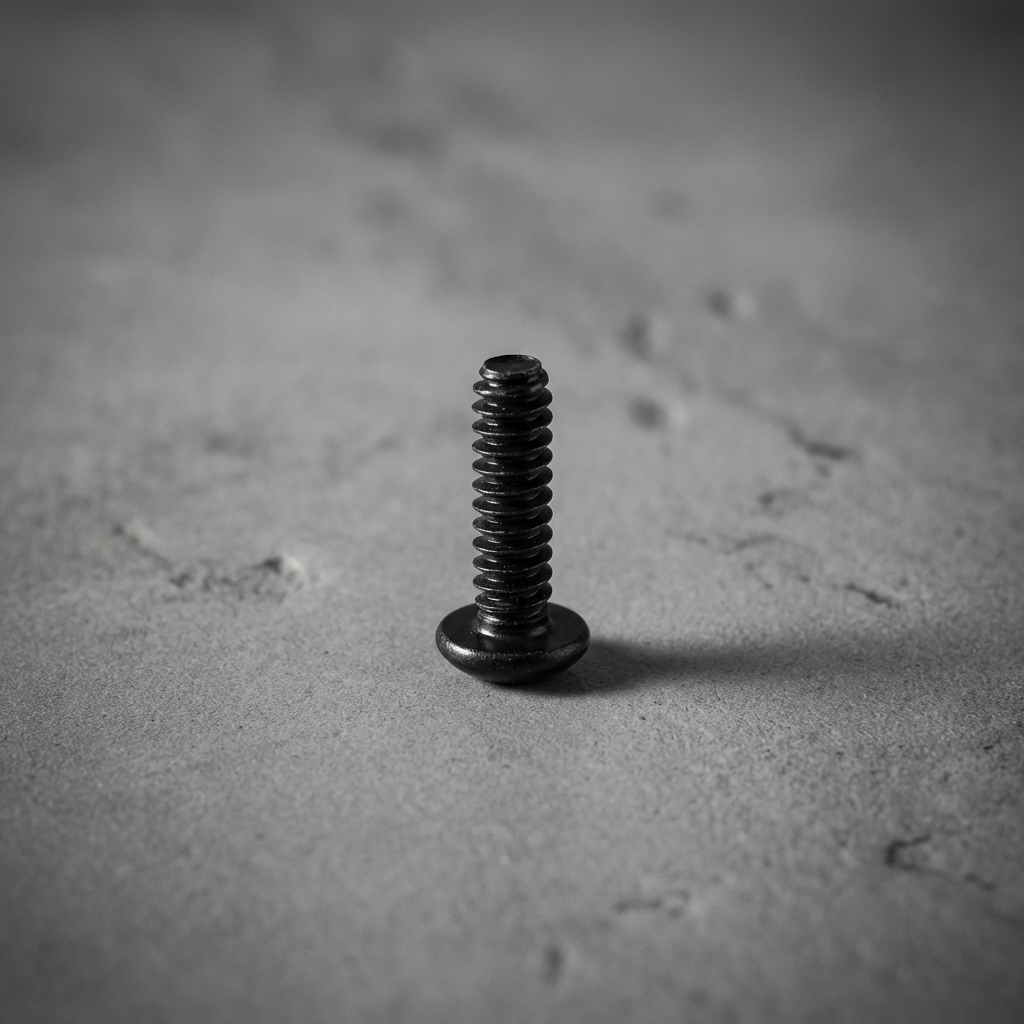
M3x5 Screw
(4x - mount and back)
Purchase
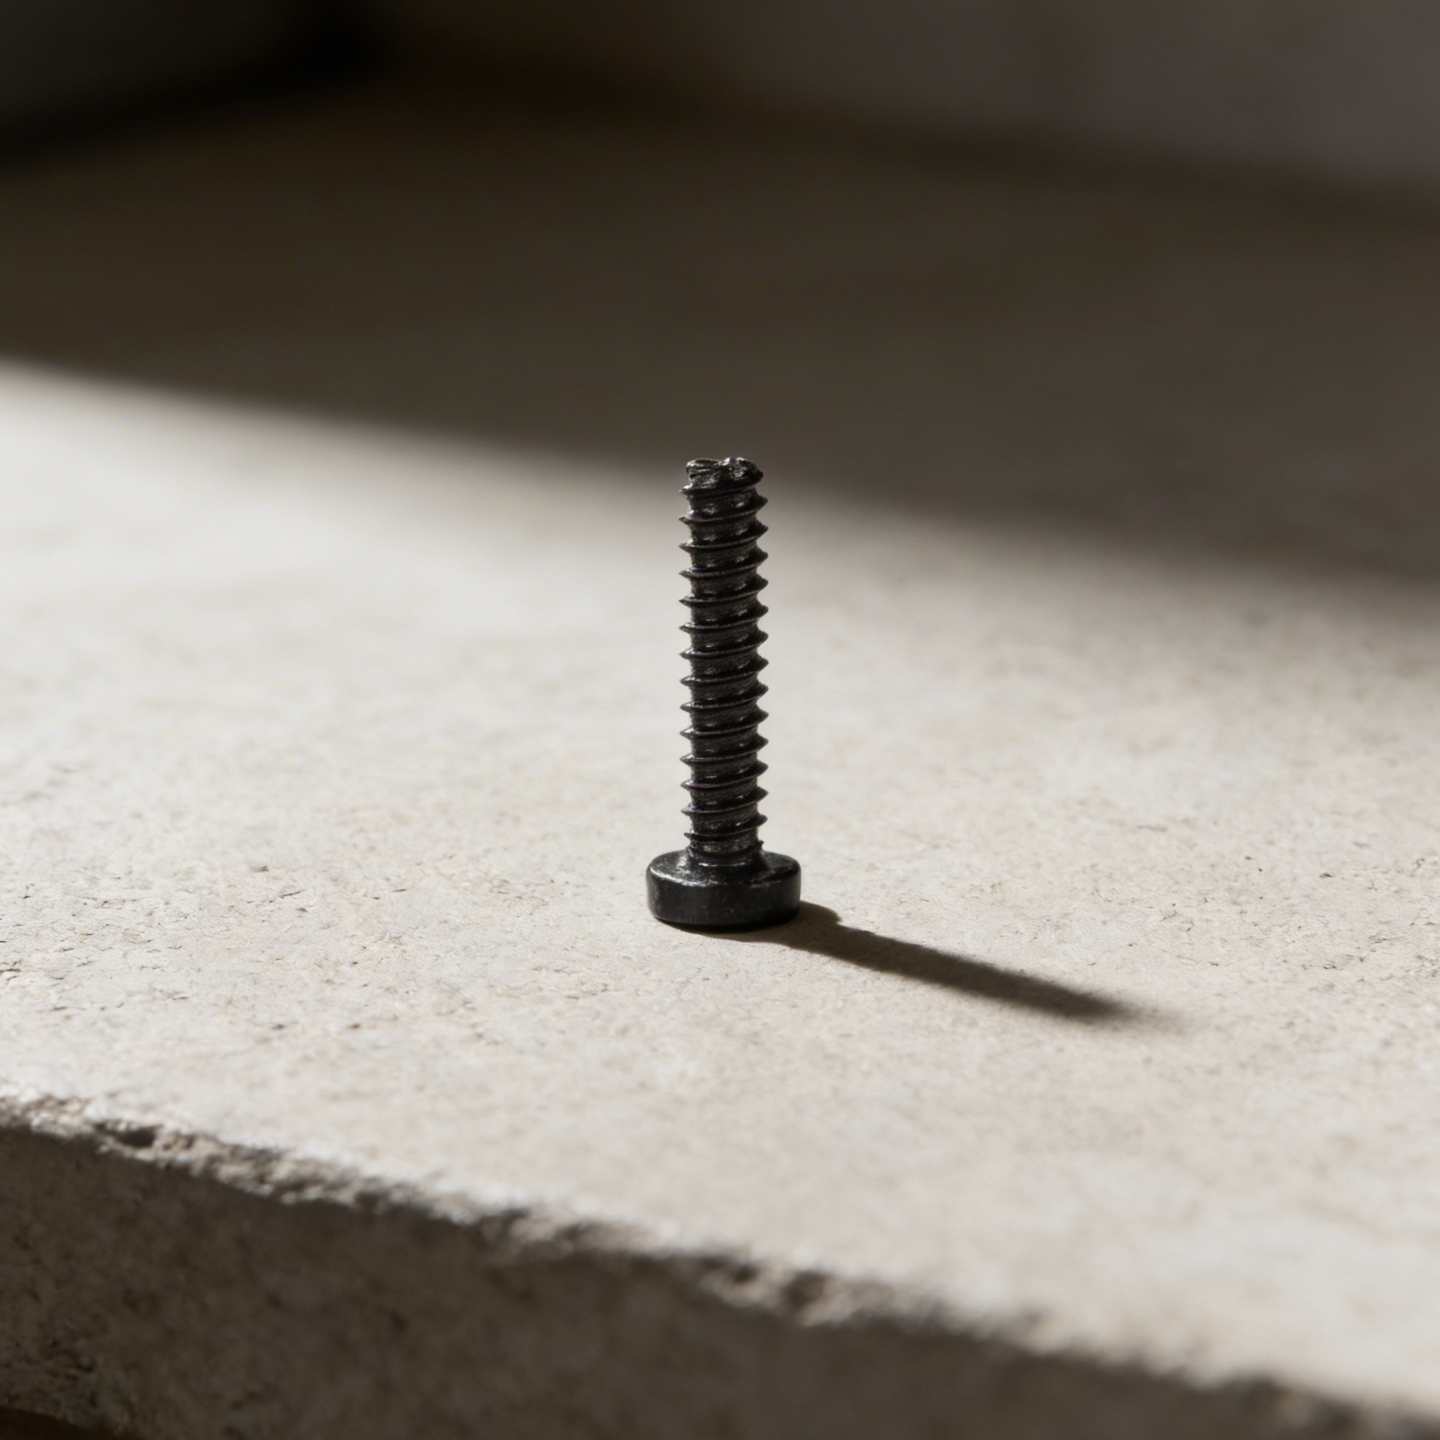
M3x6 Screw
(1x - antenna)
Purchase
M2x6 screw
(4x - speakers)
Purchase
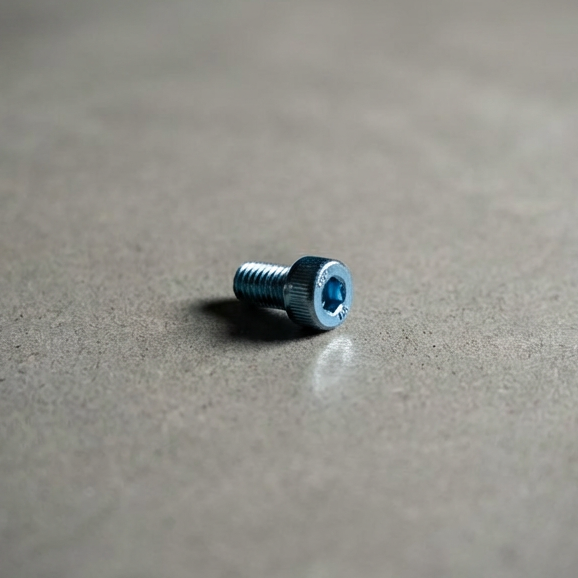
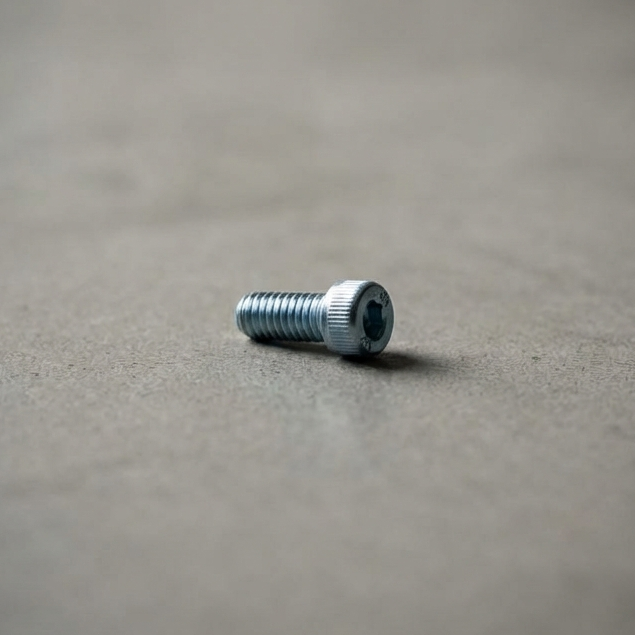
BT2x6 SHCS self tapping screw
(4x - circuit board)
Purchase
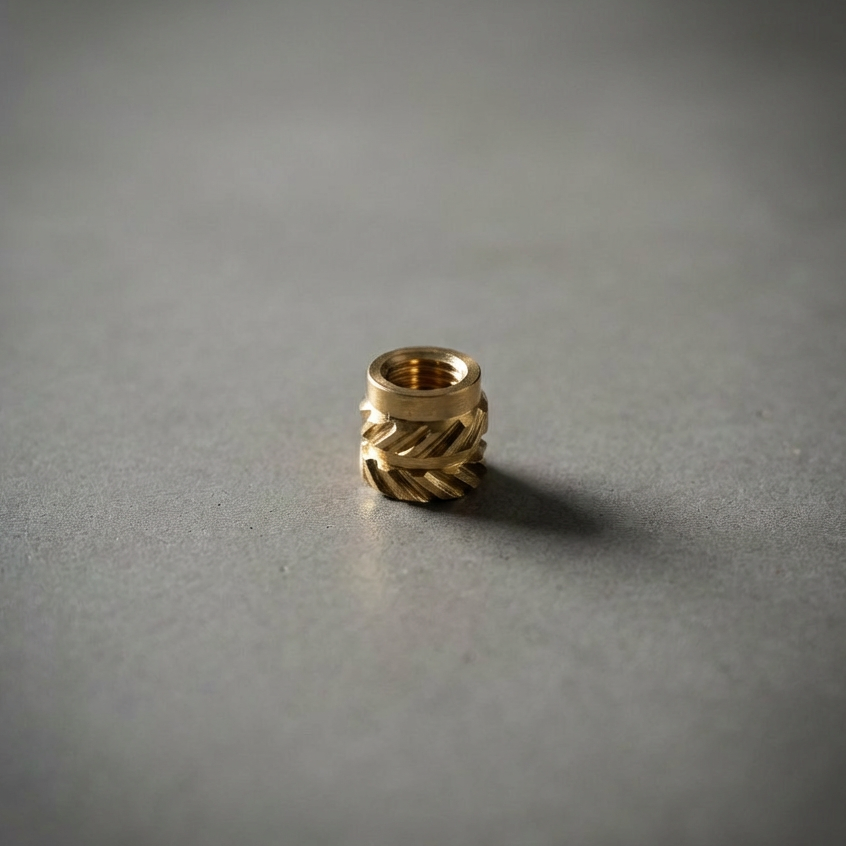
M3 Insert
(5x - mount, back and antenna)
Purchase
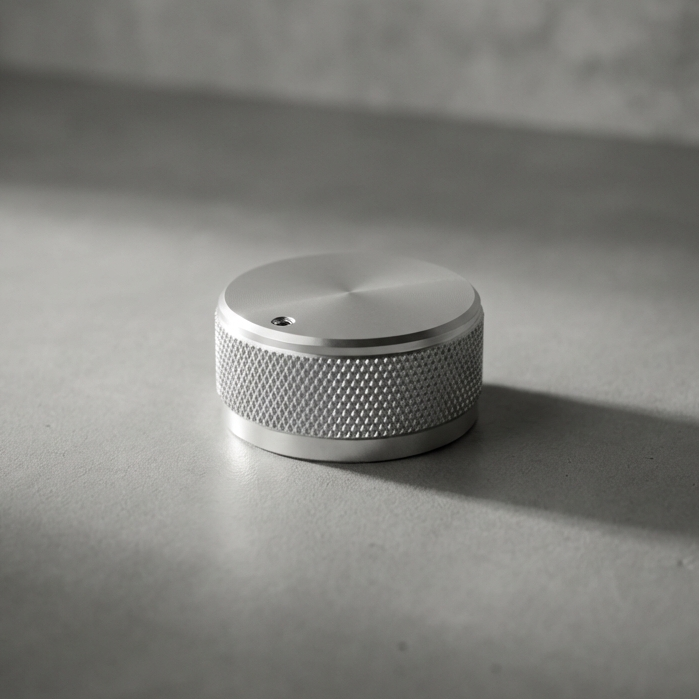
Potentiometer Knob
(optional)
Purchase
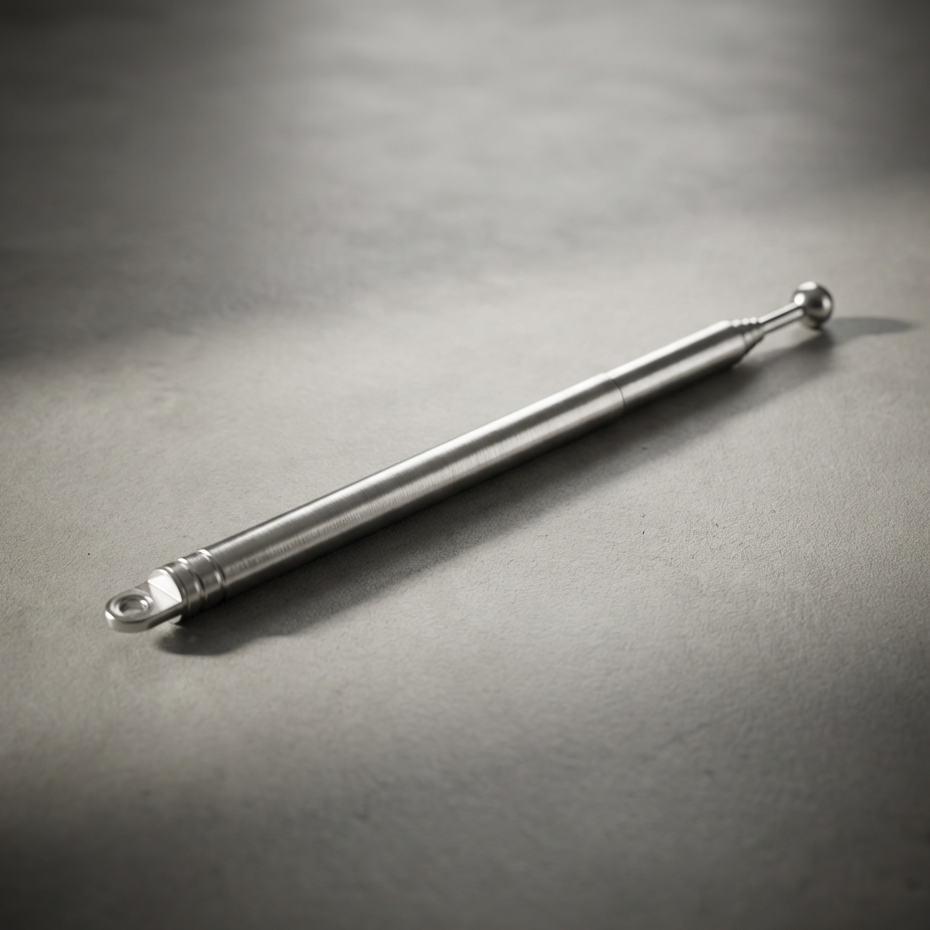
Telescopic Antenna
(optional)
Purchase
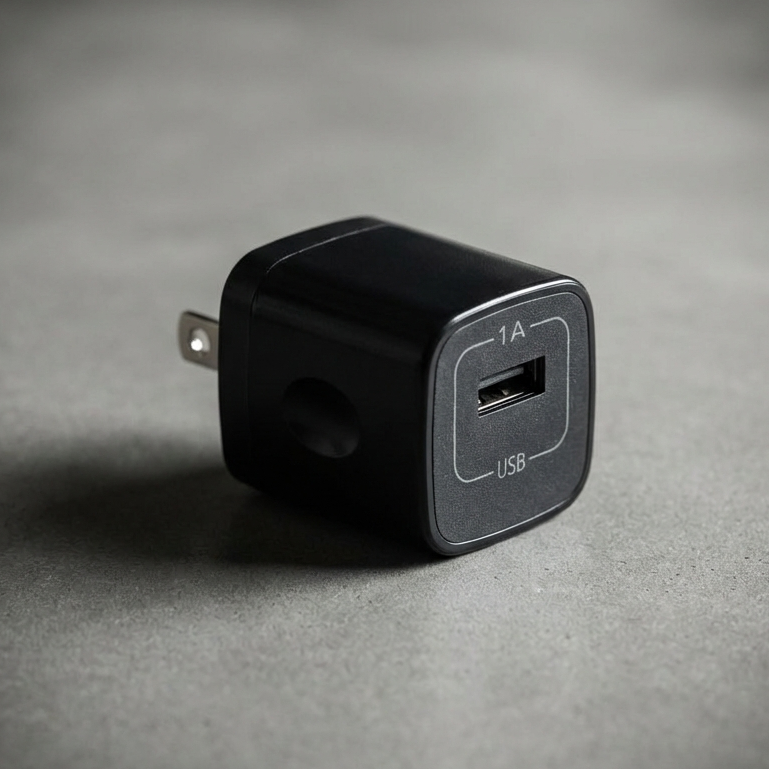
Charger Block
Purchase
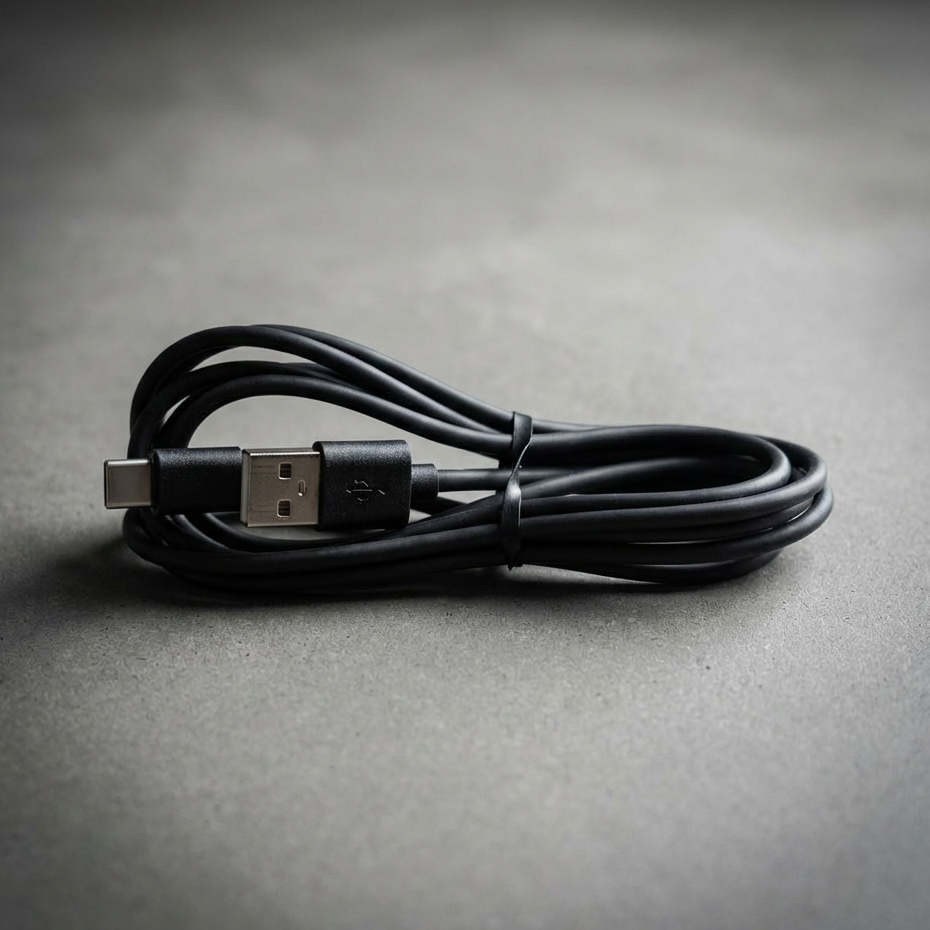
USBc Cable
Purchase
Print the 3D Parts
To build the PCB version of the Vintage Radio, you’ll need to order parts from a few different places. Unfortunately there isn’t a single store where everything can be purchased, but we’ve organized the process below so it’s easy to follow.
Start with the printed circuit board itself. After that you’ll order the electronic components from the DigiKey Bill of Materials. Finally there are a few remaining parts that are sourced separately.
Follow the sections below in order and you’ll have everything you need.
Download From Makerworld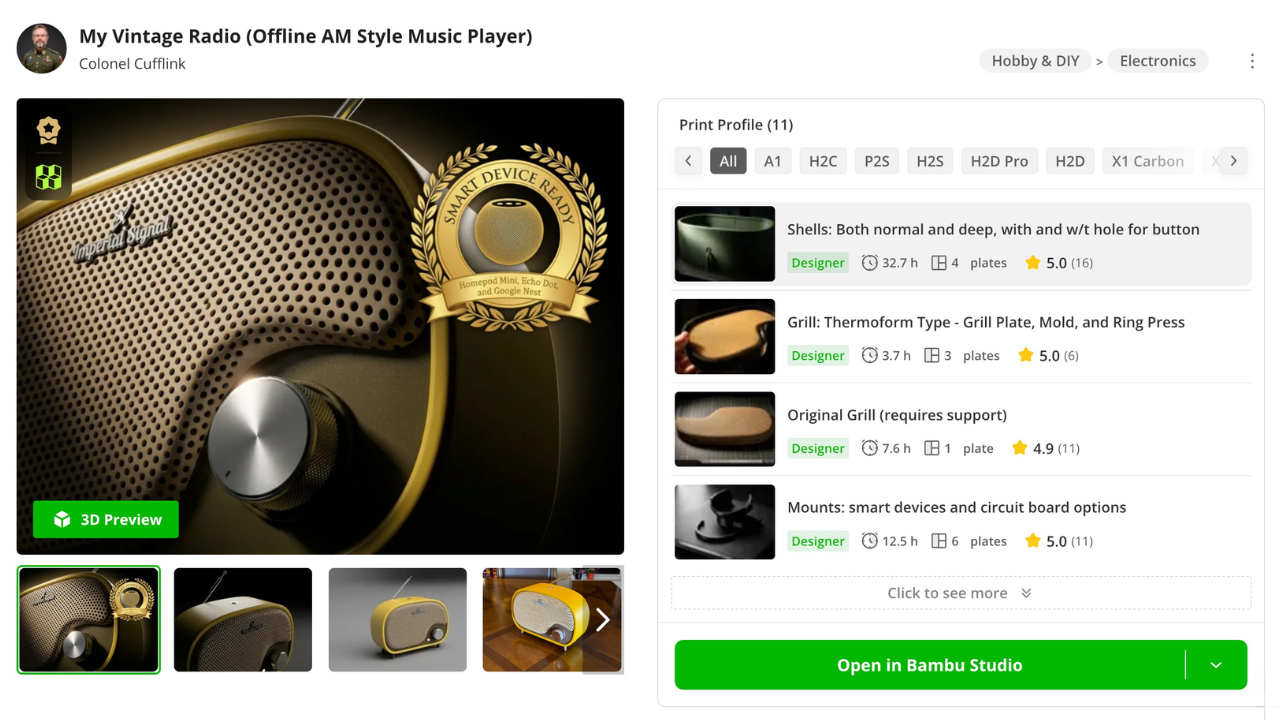
3. Build Tutorials
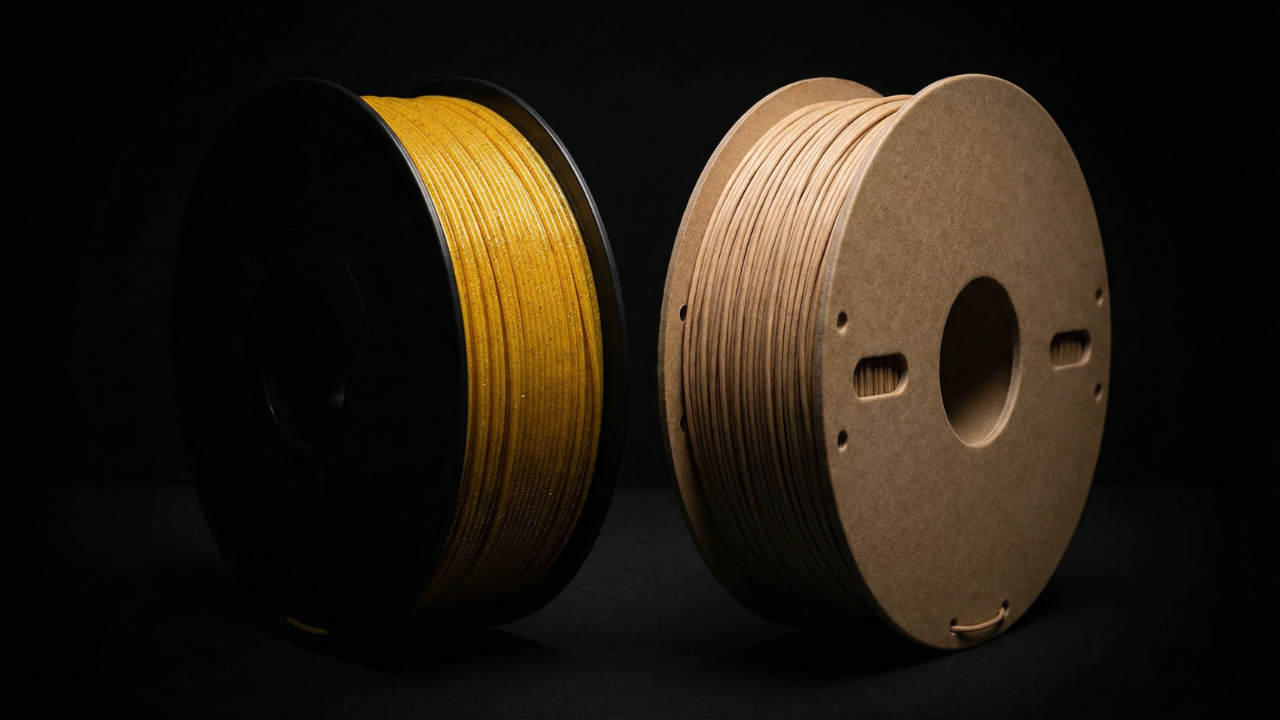
Filament Suggestions
These are the filaments I recommend for printing the radio, based on finish, durability, and how forgiving they are during assembly. The goal is a clean surface, predictable tolerances, and parts that feel intentional once everything comes together.
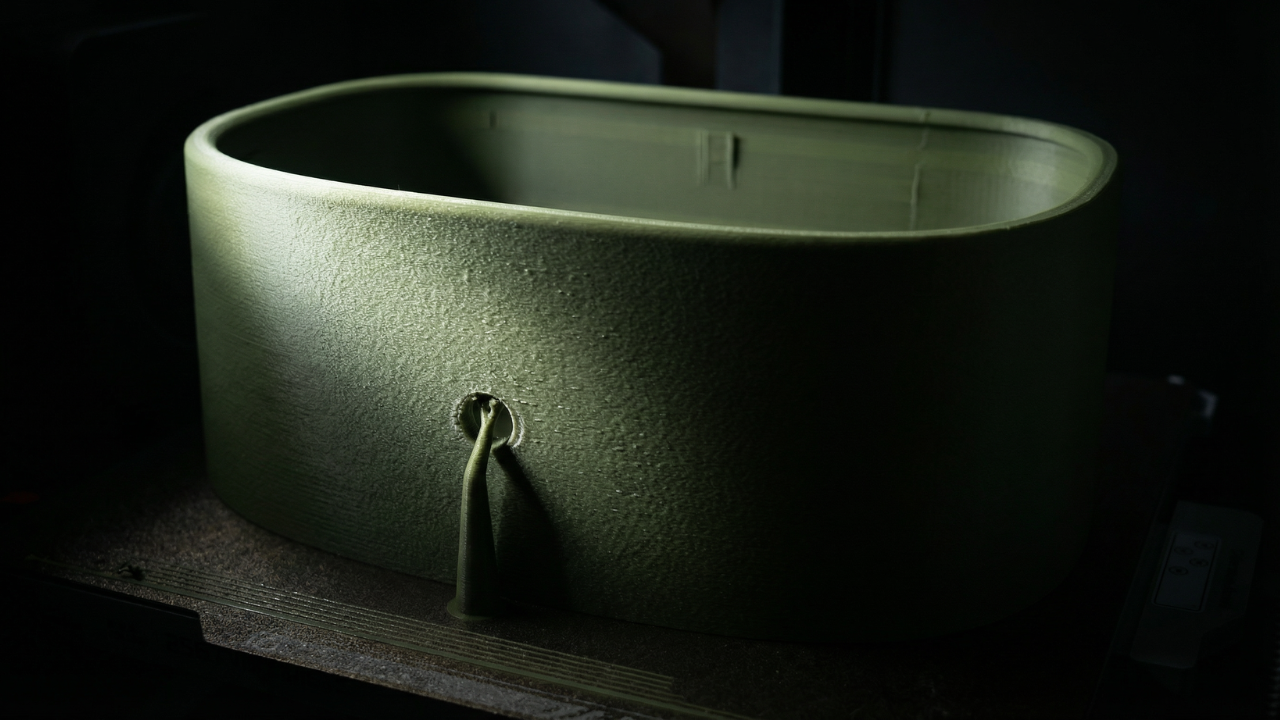
Print Settings
This section covers the slicer settings used to print each part successfully. You’ll see recommended layer heights, wall counts, infill choices, and where supports are intentionally used. The focus is on getting clean surfaces, reliable tolerances, and parts that assemble without fighting you.

Soldering the PCB
This section covers placing and soldering all components onto the circuit board. Follow the placement guide, install each part in order, and create clean solder joints so the board sits flat and functions reliably. Once assembled, the PCB becomes the core of the radio and is ready for installation inside the housing.
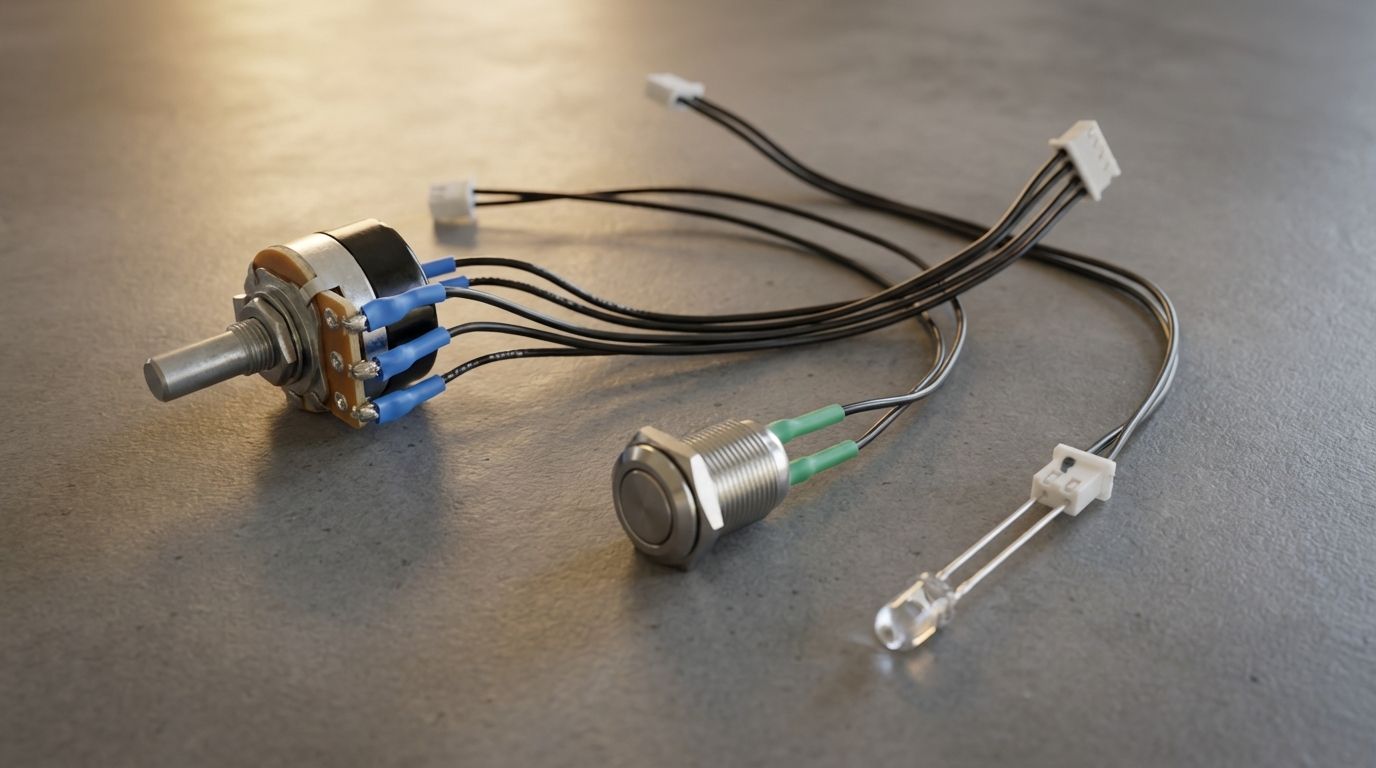
Assemble the Wiring Harnesses
This section covers assembling the three wiring harnesses that connect the front controls to the radio’s circuit board. The harnesses include a rotary potentiometer for volume control, a stainless push button, and a clear LED indicator, each prewired with connectors that plug directly into the PCB. Follow the wiring layout to confirm each connector is oriented correctly and route the wires so they fit cleanly inside the radio housing during final assembly.
Assembling the PCB Radio
Once everything is tested, it’s time to bring it all together. This final step shows how the parts stack, align, and fasten into the finished radio, turning a collection of components into a working object.
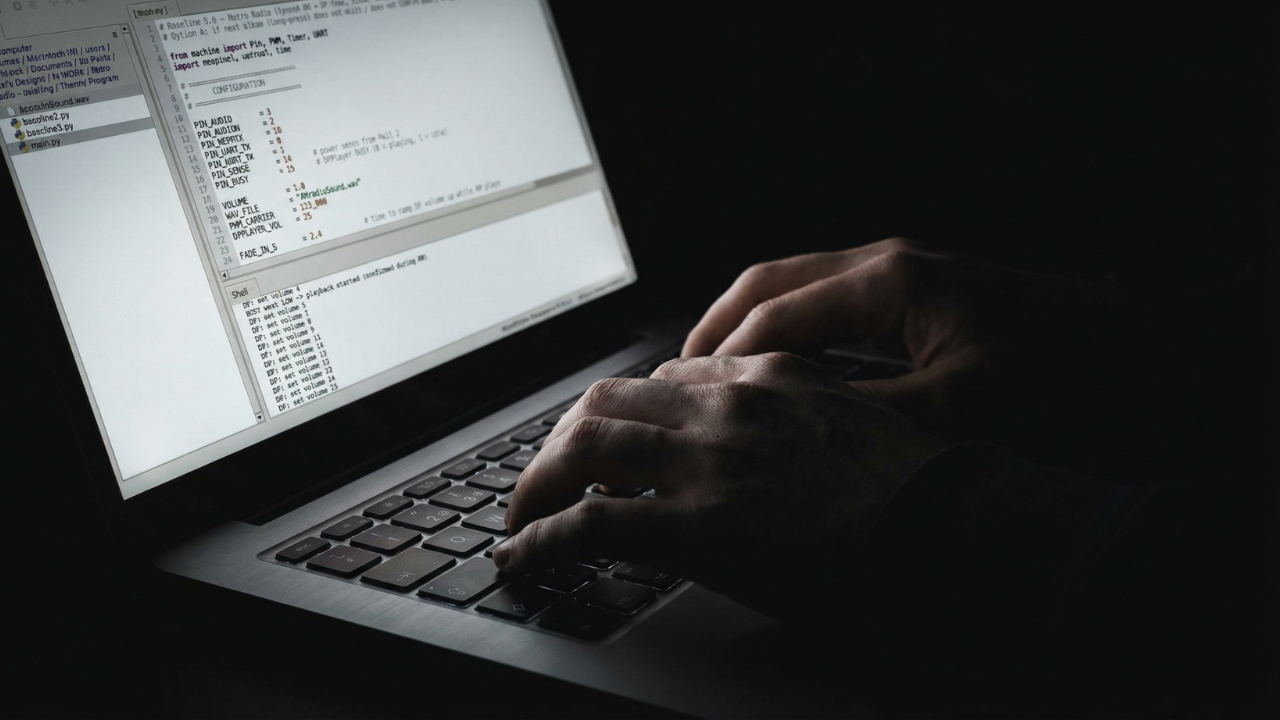
Program the Microprocessor
This step walks through loading the firmware that brings the radio to life. You’ll upload the code, confirm everything is running as expected, and make sure the microprocessor is ready before it ever goes inside the enclosure.
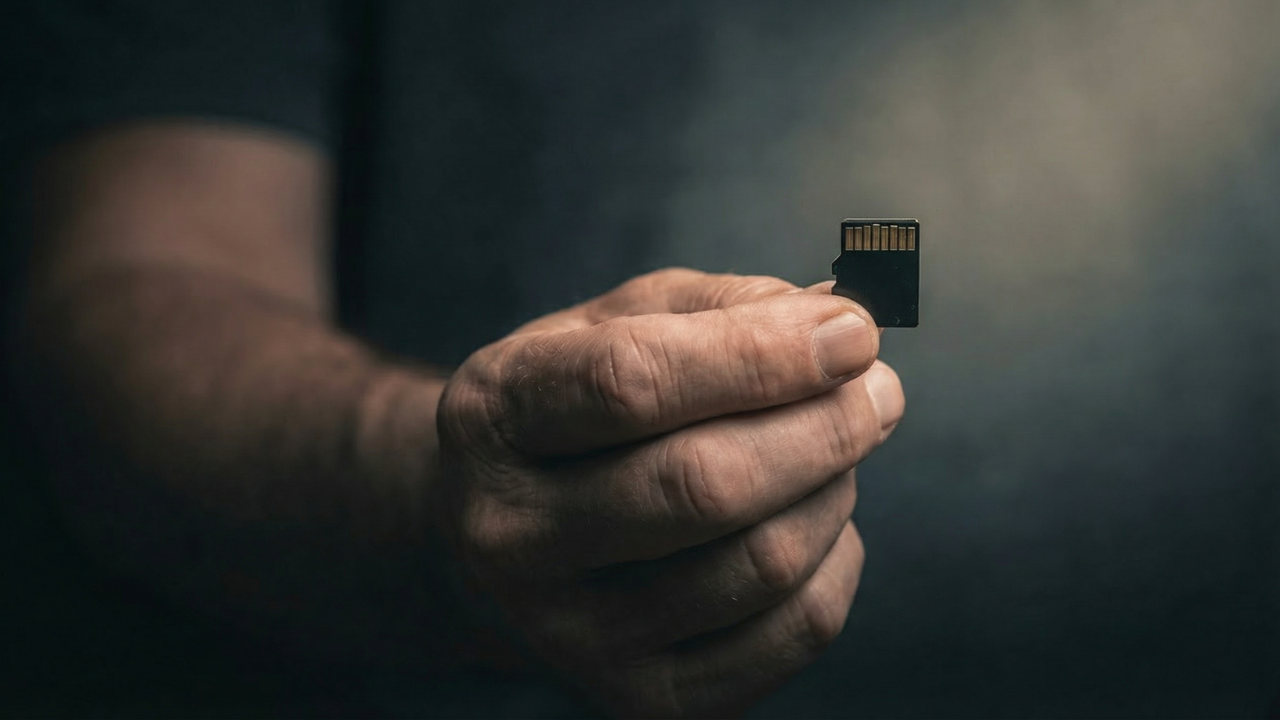
Add & Remove Songs
This video shows exactly how to add, organize, and remove music from the microSD card. Any time you want to change the music, this is the process. You can do this manually or through the slick Vintage Radio App.
Support the Project?
This project exists because of hours of testing, failed prints, redesigns, and revisions. If you’ve found it useful and want to support future mounts, PCBs, and new designs, you can contribute here. Every spool helps! 🥰
🧵 Buy Me Some FilamentLet's Stay Connected
This project is evolving. When I release new mounts, updated files, PCB revisions, hardware improvements, firmware changes, or entirely new designs, you’ll hear about it first. I’ll also share builder showcases and practical updates that make the radio easier and better to build. No noise. Just relevant information for people actually working on the project. You can unsubscribe anytime.